
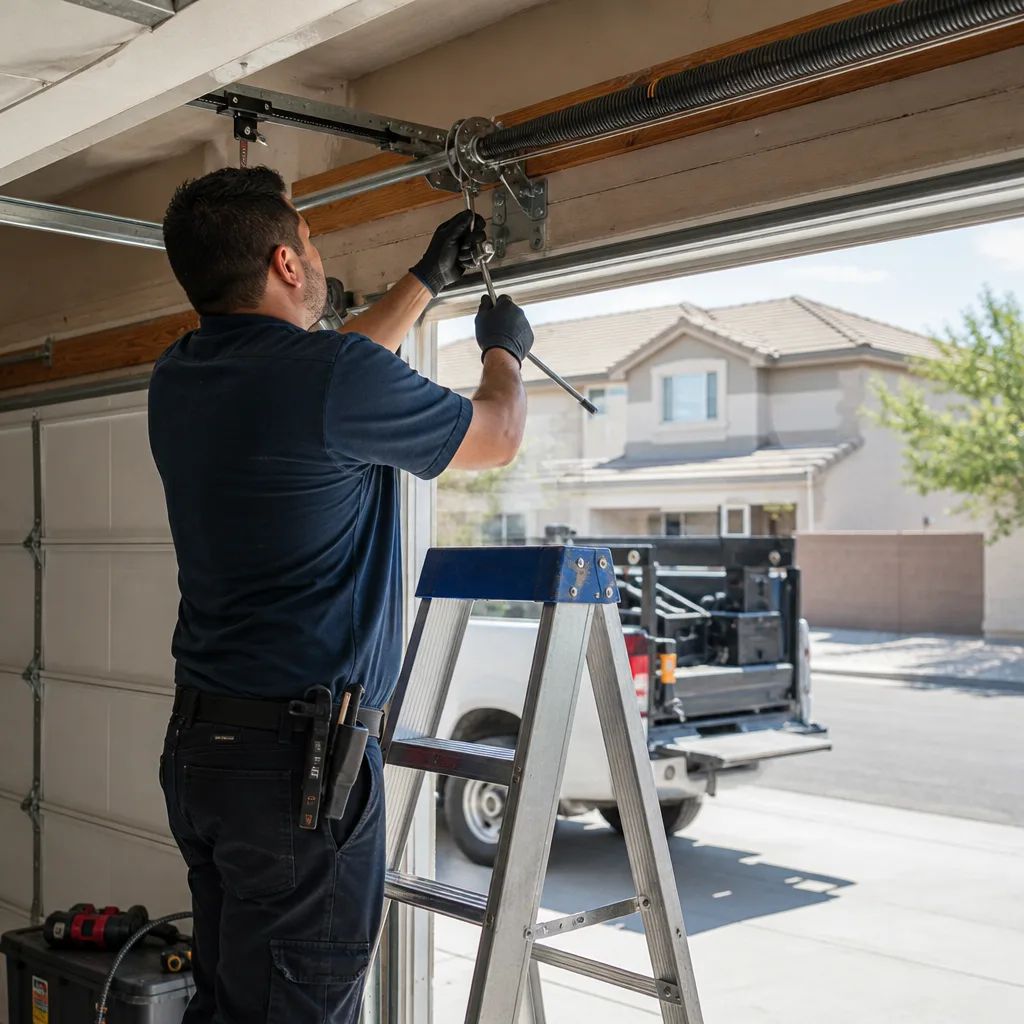
Last updated November 17, 2026
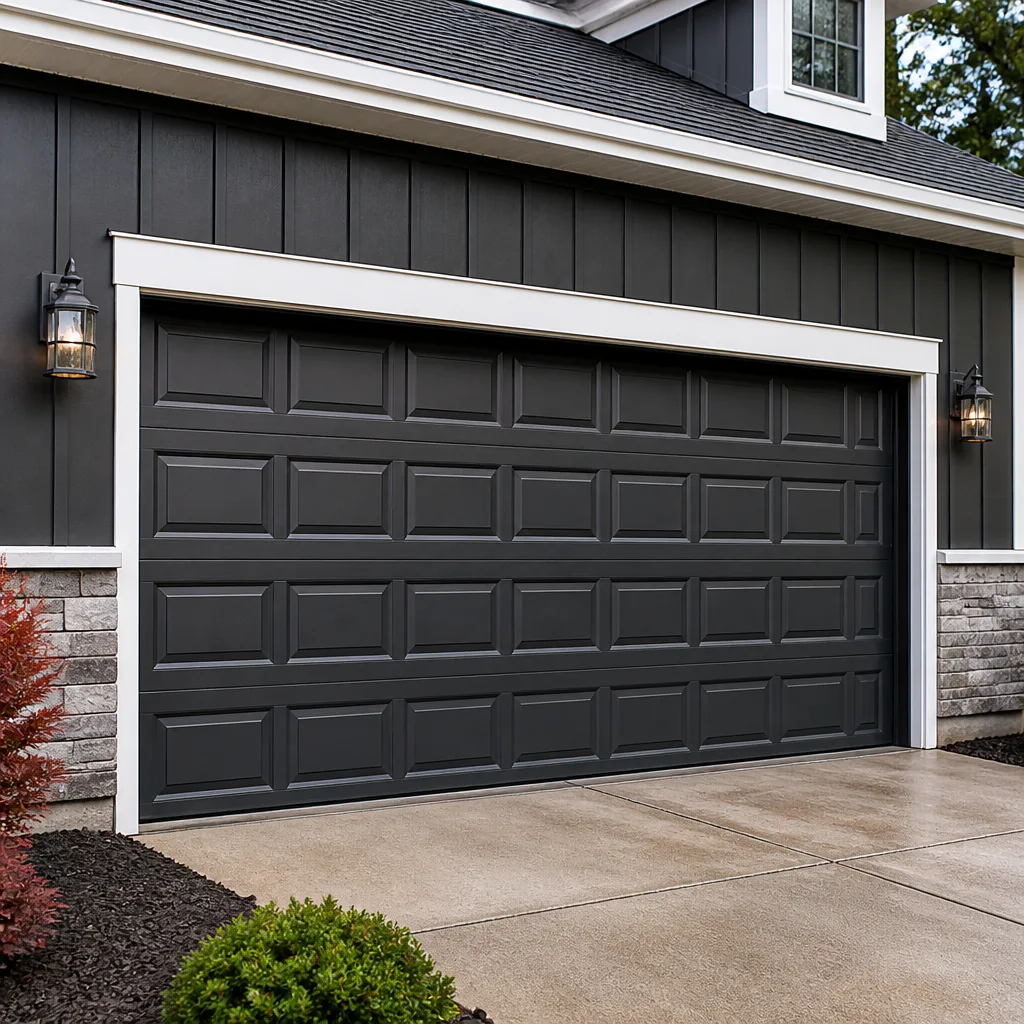 Raised-panel steel
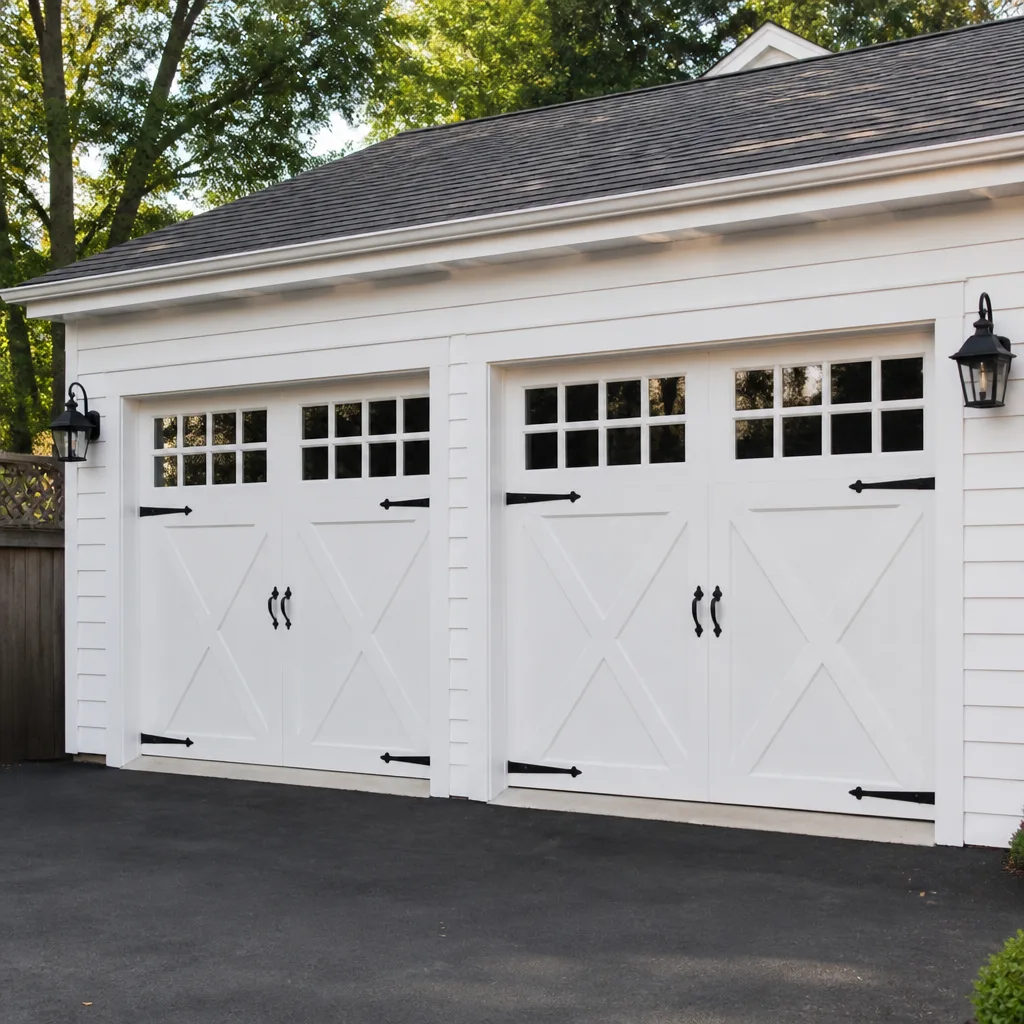 Carriage house
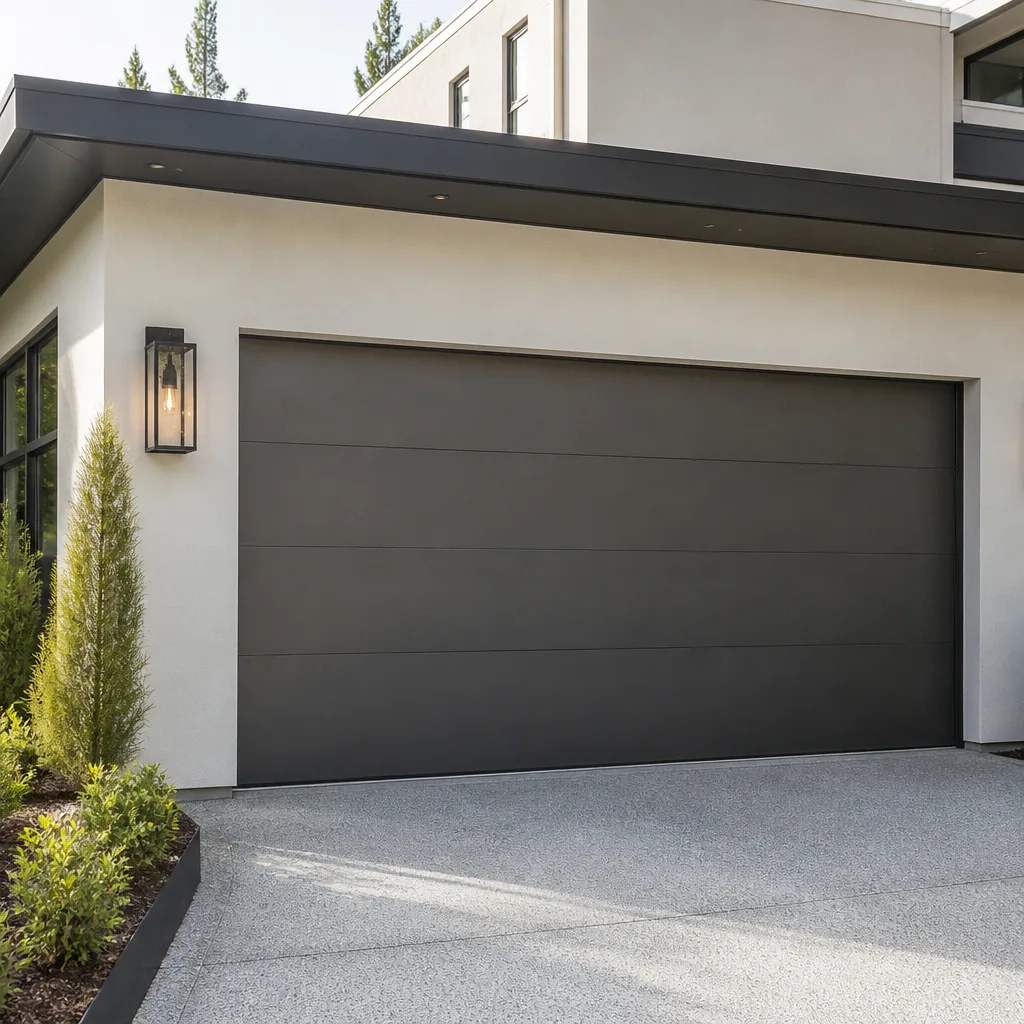 Modern flush
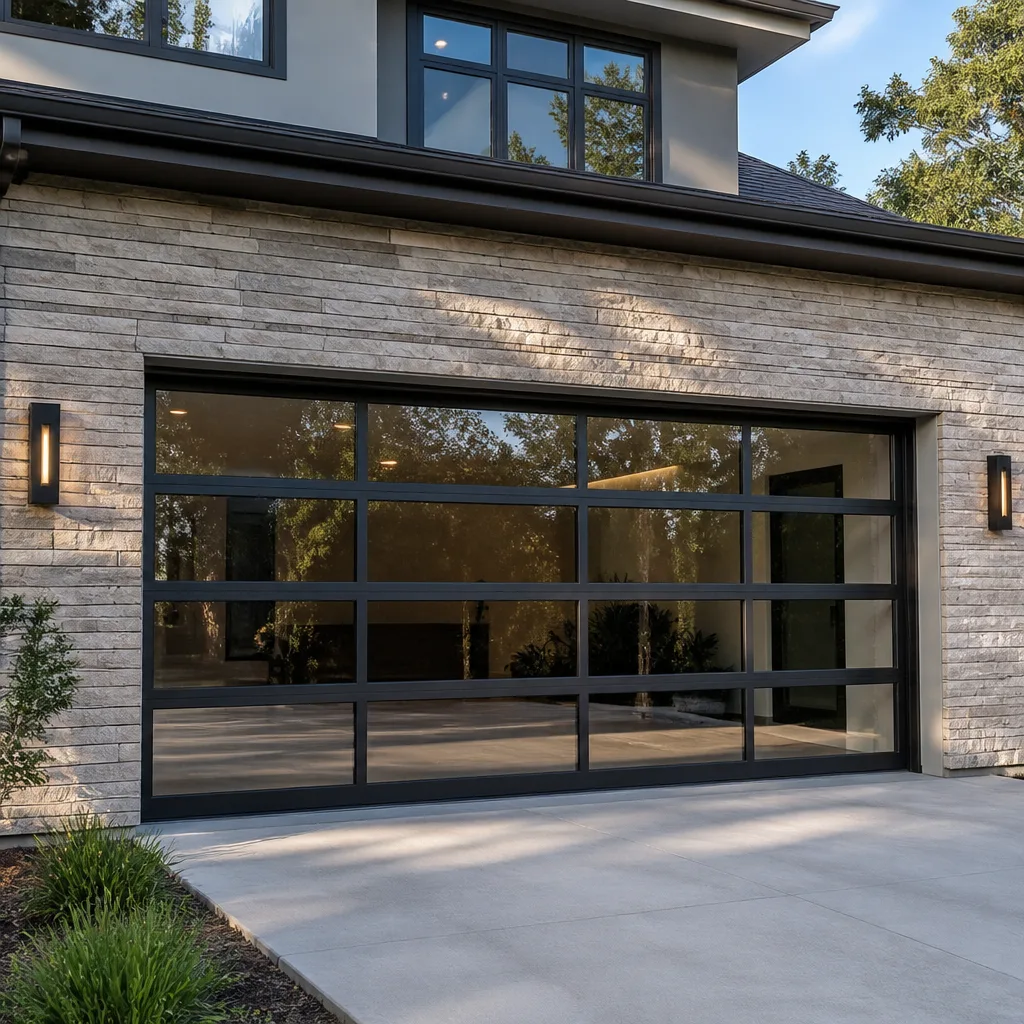 Full-view glass
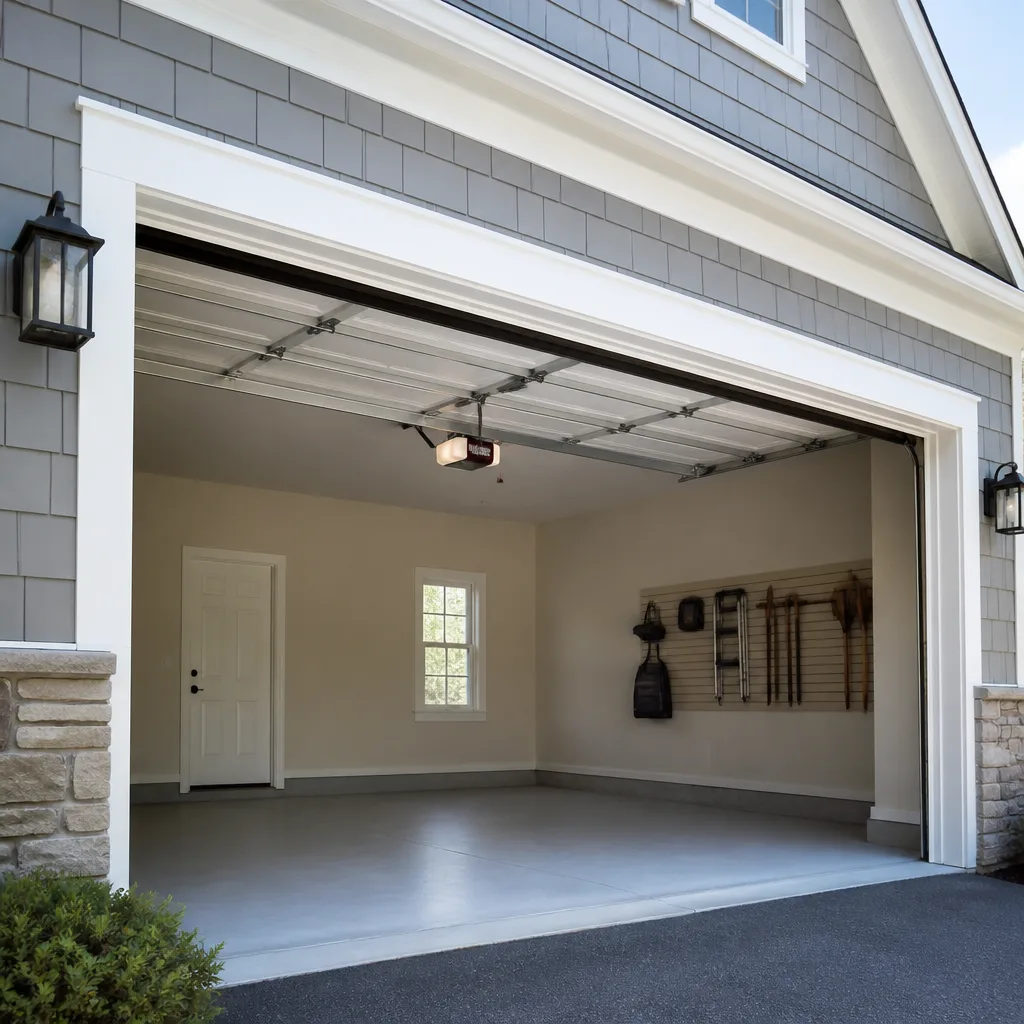 LiftMaster openers
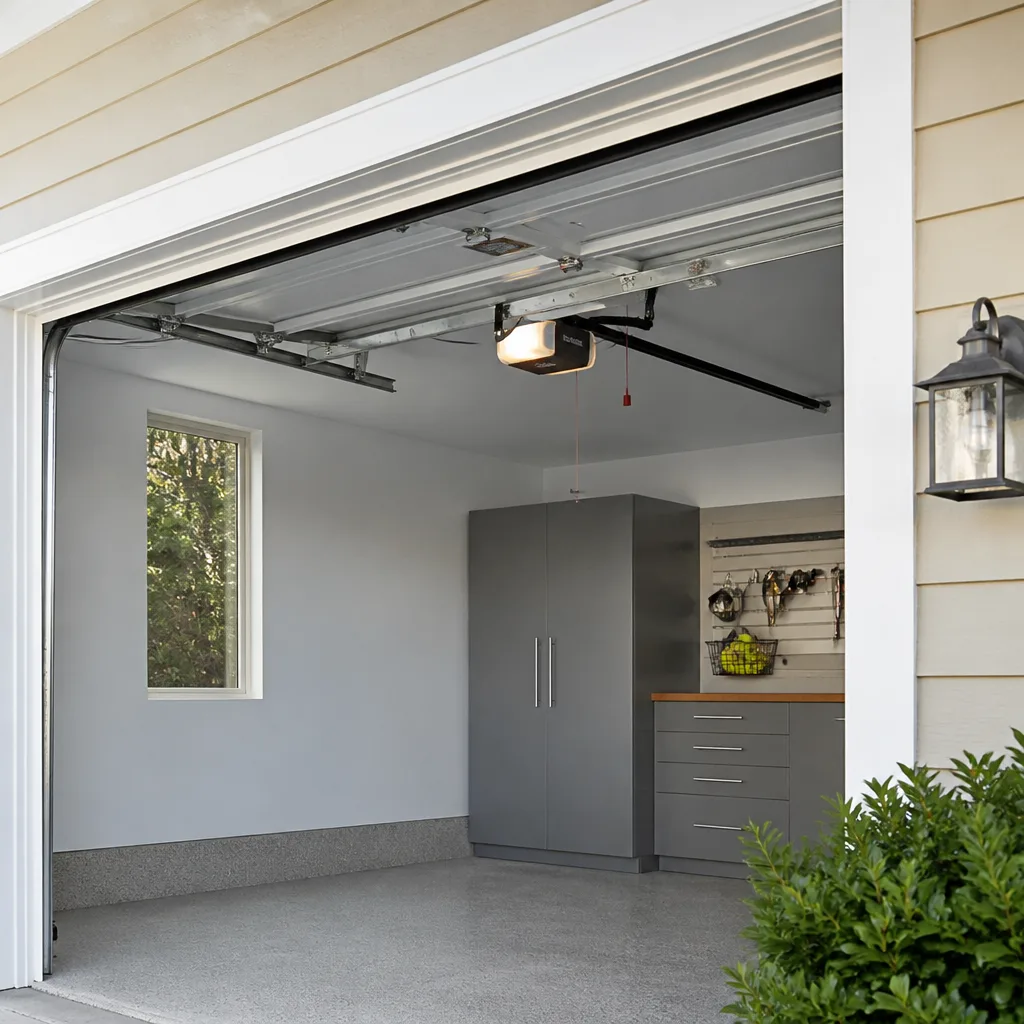 Chamberlain openers
Full 25-point door and opener safety check with every visit - springs, cables, rollers, tracks, and your LiftMaster or Chamberlain opener included
You get a price before we start. It does not change when the pro arrives.
Get your free estimateDIY vs Professional Garage Door Installation: What’s Safe to Do Yourself
Otto re-installed a “DIY job” last spring out in Sunrise Manor where the homeowner had saved himself $400 on labor and lost every bit of it in one afternoon. He’d wound the torsion spring with two full turns too many. Two turns is roughly the difference between a spring that does its job and a spring carrying enough stored energy to shatter a wrist when it lets go. The door went up and down for about a week before it started binding, and only then did he call. This guide isn’t here to talk you out of a project. It’s here to show you exactly where a self-install gets dangerous, where it quietly fails inspection, and what it actually costs once you count the parts nobody puts on the YouTube thumbnail. Sunrise Manor homeowners ask us this every week, so we’ll give it to you straight.
Quick Answer
You can safely do the measuring, the cleanup, and the painting yourself. You should not do the torsion spring tensioning, the structural anchoring, or the opener wiring without training. Full garage door installation is a three-step job where a mistake at any one step makes the whole system dangerous, which is why most homeowner installs either stall out before the door ever goes up or get flagged at inspection.
Styles & brands we work with
- Raised-panel steel
- Carriage house
- Modern flush
- Full-view glass
- LiftMaster openers
- Chamberlain openers
Table of Contents
- The Three Tasks That Need a Second Person
- What Rough Opening Prep Actually Means
- The Spring Tensioning Math Nobody Shows You
- Clark County Inspections and Your DIY Install
- Opener Wiring and Low-Voltage Reality
- The Honest Cost Comparison
- Where the Real Safety Line Sits
- The Warranty Question
The Three Tasks That Need a Second Person
Walk through any solo garage door installation video and count the cuts. The presenter never once says who held the panel while he did the thing he’s doing. That omission is the whole story. A standard residential steel door runs 150 to 250 pounds depending on width and insulation, and section one has to be held level while it’s anchored. One person can’t level and anchor at the same time.
Three tasks on a full install need a second set of hands no matter how skilled you are:
- Setting and leveling the first section. This is the foundation the whole door stacks on. Get it off-level by a quarter inch and every panel above it will bind.
- Lifting the assembled door into the tracks. Even a smaller single-car door is an awkward 150 pounds of moving geometry. One slip on this step bends a bottom bracket or takes a corner of the door into the concrete.
- Holding the torsion bar steady while spring tension is applied. This is the dangerous one. The winding bars have to stay seated in the winding cone against live spring pressure. A second person steadies the bar. Doing it alone is how the winding bar slips out and the spring unwinds into whatever’s in its path.
If your plan is to ask a neighbor to stop by for twenty minutes, you’ll underestimate the job. Budget a full second adult for the better part of a day in Sunrise Manor’s summer heat, because a garage hits 110 degrees inside by mid-morning and mistakes climb right along with it.
What Rough Opening Prep Actually Means
Here’s the part people skip. The rough opening is the framed hole in the wall your garage door hangs in, and if it’s off, the door cannot fix it. A door is made to a specific size. The hole it lives in has to match within a quarter inch of width and a half inch of height, plus or minus. If it’s out of square, the door will bind in the tracks from day one and no amount of adjustment will save it.
What to actually check before the door shows up:
- Width and height. Measure at three points across and down. A rough opening built 20 years ago has settled since then, and here in the desert it has also shifted in the heat cycling and the caliche soil under it.
- Square. Measure corner to corner. If the two diagonals differ by more than a half inch, the opening is out of square.
- Header height and strength. The header carries the door weight plus the torsion load. If it’s not structurally rated for a door of that size, a door that’s under warranty won’t fix a header that isn’t.
- Jamb condition. Rot, split trim, cracked mortar. Installers flag this and charge to fix it, so you’ll pay for it one way or the other.
If any of that is off, call a framer first. We’ve seen more than one homeowner in Sunrise Manor order a Clopay door, wait three weeks, and find out on delivery day that the rough opening is two inches out. That’s a refund fight, a reschedule, and another three weeks. This is exactly why our Garage Door Installation in Sunrise Manor process includes a free measure before anything is ordered.
The Spring Tensioning Math Nobody Shows You
Springs aren’t tensioned by feel. They’re tensioned by math. Every torsion spring has a specific number of turns that gets it to the correct lift force for your door weight. Set it too loose and the door won’t hold itself up. Set it too tight and it fights the opener and shortens every part of the system’s life. Set it dangerously tight and it fails catastrophically.
The formula installers use runs like this:
- Weigh the door. Not guess the weight. Weigh it. Weight varies based on width, panel material, insulation, glass, and hardware.
- Pick the spring wire size and inner diameter. Both determine lift capacity together. A .225-by-2-inch spring does not lift the same load as a .243-by-2-inch spring, even if they look the same on the shelf.
- Calculate spring cycles per inch. This tells you how many up-and-down cycles the spring will do before it fails. Cheaper springs from big-box shelves are typically rated lower. A 10,000-cycle spring vs. a 25,000-cycle spring is a real difference, and whoever ordered your door made that call whether you knew it or not.
- Convert to turns. The turns required are spring length divided by a specific factor for that spring’s wire and diameter. Get the number from the door manufacturer or a spring chart, then verify it against actual balance.
- Test balance at the halfway point. A correctly tensioned door, disconnected from the opener, should hold itself at roughly half up and half down. Anywhere else means the tension is wrong.
We can’t tell you to do this yourself, and we won’t. A door is 200 pounds riding on two springs. If that sounds fine, picture your hand between them when one goes, and how a spring letting go at full tension sounds nothing like a door slamming. It sounds like a gunshot. Respect it. This is the one step where we recommend a trained pro no matter what. If your opener ever seems to strain to lift the door, it’s almost never the opener. It’s the spring tension.
Clark County Inspections and Your DIY Install
Whether a garage door installation gets inspected in Clark County depends on whether a permit was pulled. A same-size replacement usually doesn’t need one. A larger opening, a new rough opening, or the addition of an opener on a new circuit often does. Call Clark County’s building department before you assume. It’s a five-minute call that saves a much longer one later.
When inspectors do look at a homeowner install, here’s what they flag:
- Missing safety reversing sensors. Modern openers are required to have a photo-eye at the door opening, no more than 6 inches off the floor. Bypassed or misaligned sensors get flagged.
- Manual release. Every opener needs a functional emergency release handle, and it has to work smoothly, not just be present.
- Electrical connection. Openers running off an extension cord, an ungrounded outlet, or a Romex run without a junction box will fail. This is common on homeowner installs.
- Door balance. An inspector can disconnect the opener and test the door. An unbalanced door fails.
- Labeling. Doors need a label showing wind-load rating if applicable, and openers need their UL 325 labeling intact.
Sunrise Manor’s wind isn’t the same as the coast, but Clark County still cares about anchoring here, especially on older homes where the framing above the door isn’t what it was in 1985. We’ve had more than one homeowner call us in Sunrise Manor after a self-install stalled at inspection and their original installer disappeared.
Opener Wiring and Low-Voltage Reality
The opener itself goes up easily enough. The wiring is where it gets real. The wall switch needs a low-voltage run to the opener. The safety sensors need two wires, or in some setups four. Power needs to come from a grounded, properly boxed outlet near the motor location. In an older Sunrise Manor garage that outlet may be original to the house and needs replacement before anything plugs into it.
What turns a weekend project into a permit hassle:
- Running 120V wire without a box. If the existing outlet isn’t grounded, install a new dedicated line and have an electrician do it. That’s not a garage door job.
- Low-voltage runs through unprotected openings. Wire stuck in the stucco without a proper fastener fails inspection and pulls loose over a few summers.
- Sensor alignment. Modern LiftMaster and Chamberlain openers are picky about sensor alignment. Solar glare through a west-facing garage door will mirror false trips if the sensor angle is off, and in Sunrise Manor at 3 p.m. that glare is brutal.
If you’ve already got a functioning opener with conductors run and just swapped the door, wiring isn’t a big deal. If you’re installing a new opener on a garage with no line, stop and call an electrician. Our Garage Door Opener Repair & Installation in Sunrise Manor work always includes a check of the electrical side before we hang a motor.
The Honest Cost Comparison
Here’s the cost comparison most articles won’t put numbers on. We’re giving you real ranges for Sunrise Manor so you can see the difference, and what the DIY savings actually looks like after hidden costs. Prices vary by door size, weight, and material, and a professional install includes measure, delivery, haul-away, and the phone number to call if something’s off.
| Line item | DIY | Professional install |
|---|---|---|
| Door itself (single-car steel) | $550 – $900 | $550 – $900 |
| Door itself (double-car insulated) | $1,200 – $2,000 | $1,200 – $2,000 |
| Springs and hardware | $80 – $200 | Included |
| Install labor | $0 (your time, ~10 – 14 hours) | $400 – $800 |
| Tool rental (winding bars, chain hoist, saw) | $60 – $140 | $0 |
| Helper’s time or paid hand | $0 – $250 | Included |
| Adjustment call after self-install | $150 – $275 | $0 (in-warranty) |
| Replacement parts for mistakes | $75 – $300 | $0 |
| Warranty on labor | None | Covered |
The advertised DIY savings of $400 to $600 mostly holds if you have tools, a helper, a square rough opening, and your first at-bat goes clean. It disappears entirely the moment you need the adjustment call, replace a panel you dropped, or fail inspection. Our Otto’s Garage Door Sunrise Manor home page spells out the standing offers that apply, including $40 off any repair over $200 if the DIY door needs one.
Where the Real Safety Line Sits
There’s a safe DIY zone and a dangerous one. Clear about where they sit:
Safe to do yourself:
- Measuring the rough opening and checking it for square
- Clearing the track path of stored items, bikes, and shelves
- Painting the door after install and on a schedule
- Lubricating rollers, hinges, and the torsion spring with a silicone- or lithium-based spray once a year
- Testing the safety reversing sensor monthly by blocking it with a piece of plywood and confirming the door reverses
- Replacing your own opener remote batteries and syncing a remote to a Genie or LiftMaster head
Dangerous to do yourself:
- Winding or unwinding a torsion spring
- Replacing a torsion tube, cable, or bottom bracket
- Adjusting spring tension on an existing door
- Lifting a full door into tracks solo
- Running new electrical to an opener
We can’t give you instructions for the second list because there aren’t safe instructions to give. The winding bars on a torsion spring are held under load. That load doesn’t wait for you to figure it out. If your door needs spring work and you have two good hands, keep both of them and call someone who’s done it a few hundred times.
The Warranty Question
Manufacturers warranty the door, not the install. A door with a manufacturer defect is covered either way. What’s not covered is the labor to fix it, and if the door itself went in crooked because the opening was off, that’s not a defect. On a homeowner install, you’re your own warranty. If the door binds in 8 months, you’re paying someone to come out and fix it, out of pocket, and there’s no labor warranty to call.
Professional installation changes the math on this. Labor is warrantied. If something’s off in the first ninety days, you call one number, and you’re not paying again. That’s the 90-Day Done Right Promise. If it’s not done right, we make it right. One call to Otto, not a queue. On any door we install in Sunrise Manor, the guarantee is written on the invoice and it covers the whole job, not just the parts.
Common Mistakes to Avoid
- Ordering the door before you check the rough opening. We’ve seen four separate Sunrise Manor jobs in the last two years where the hole was 2 inches wide of the door and the homeowner ate the restocking fee and the reschedule. Measure first, order second, always.
- Assuming the spring that came with the door is tensioned for your door. New doors ship with springs that still have to be wound and balanced. They’re not pre-set. Treat the springs as a blank slate.
- Working solo because the video made it look easy. The videos cut around the second person. Watch for what’s not on screen. If the presenter suddenly has one hand free, someone else is holding the door.
- Skipping the safety reversing sensor check. This one’s an actual safety failure, not just an inspection nit. A door that doesn’t reverse on contact is a hazard to kids, pets, and anyone standing in the path.
- Running an extension cord to the opener. Common shortcut in older Sunrise Manor garages, common inspection failure, and a real fire risk in a summer garage that hits 110 degrees plus.
- Tightening the spring “until it feels right.” Springs are tensioned by math, not by feel. Guessing is not a margin error, it’s a failure mode.
- Forgetting the door weight in the decision. A heavy insulated double door needs a different spring setup than a light single door. Reuse a spring from a different door and you’re driving off the edge of the road.
See the difference
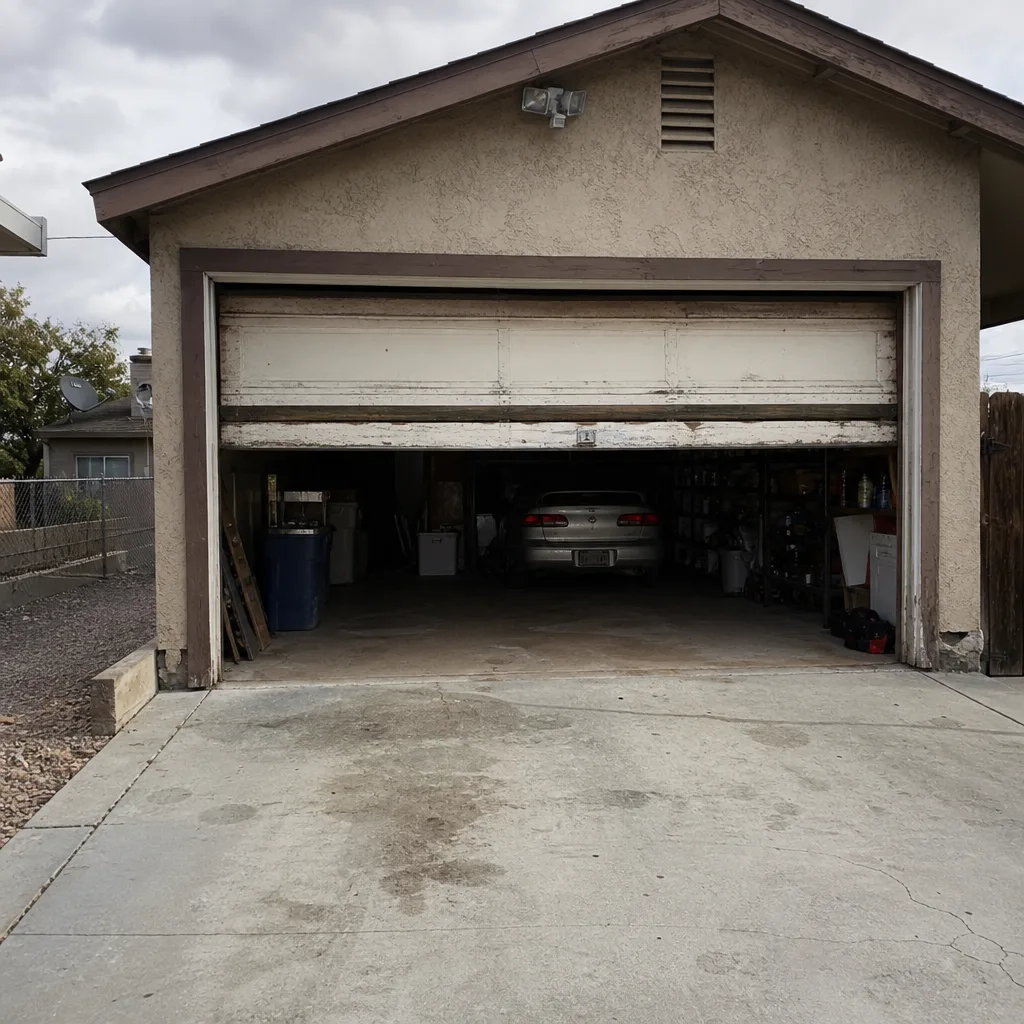 Before
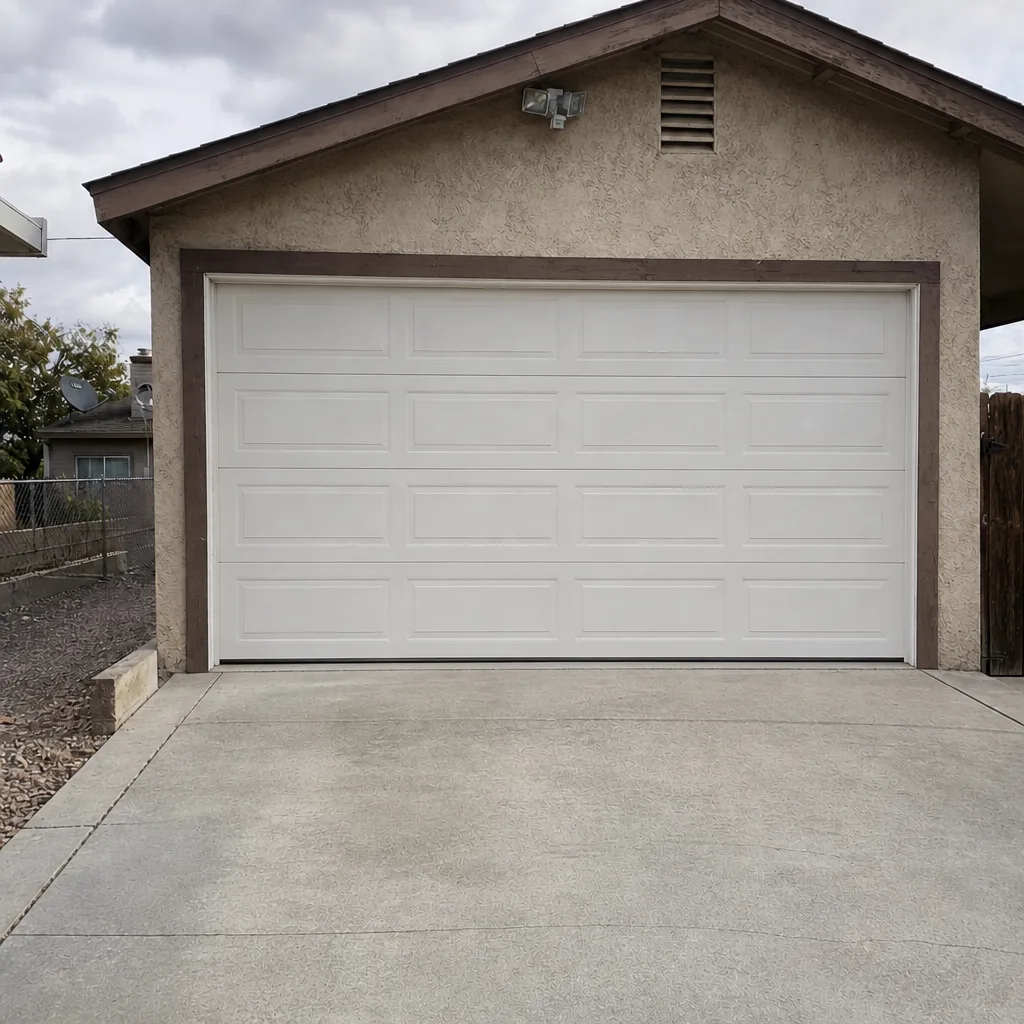 After
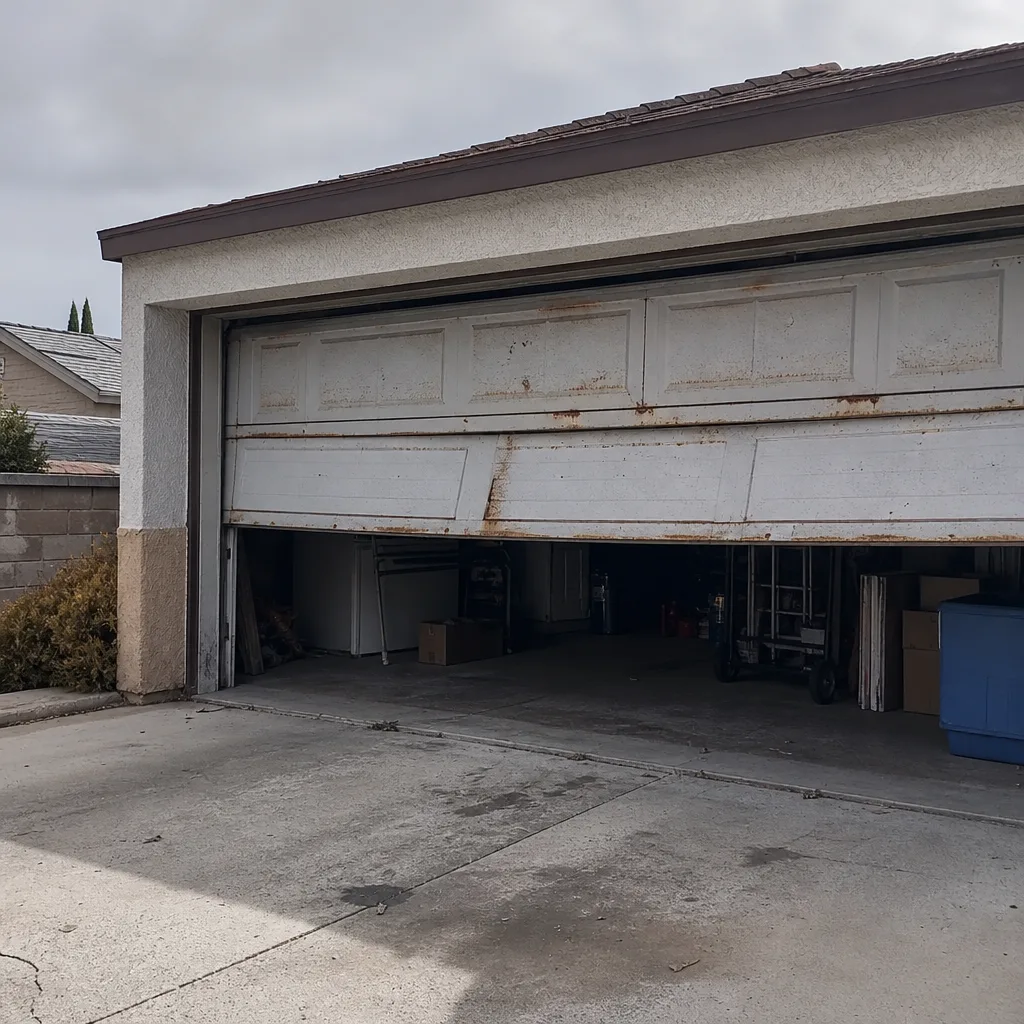 Before
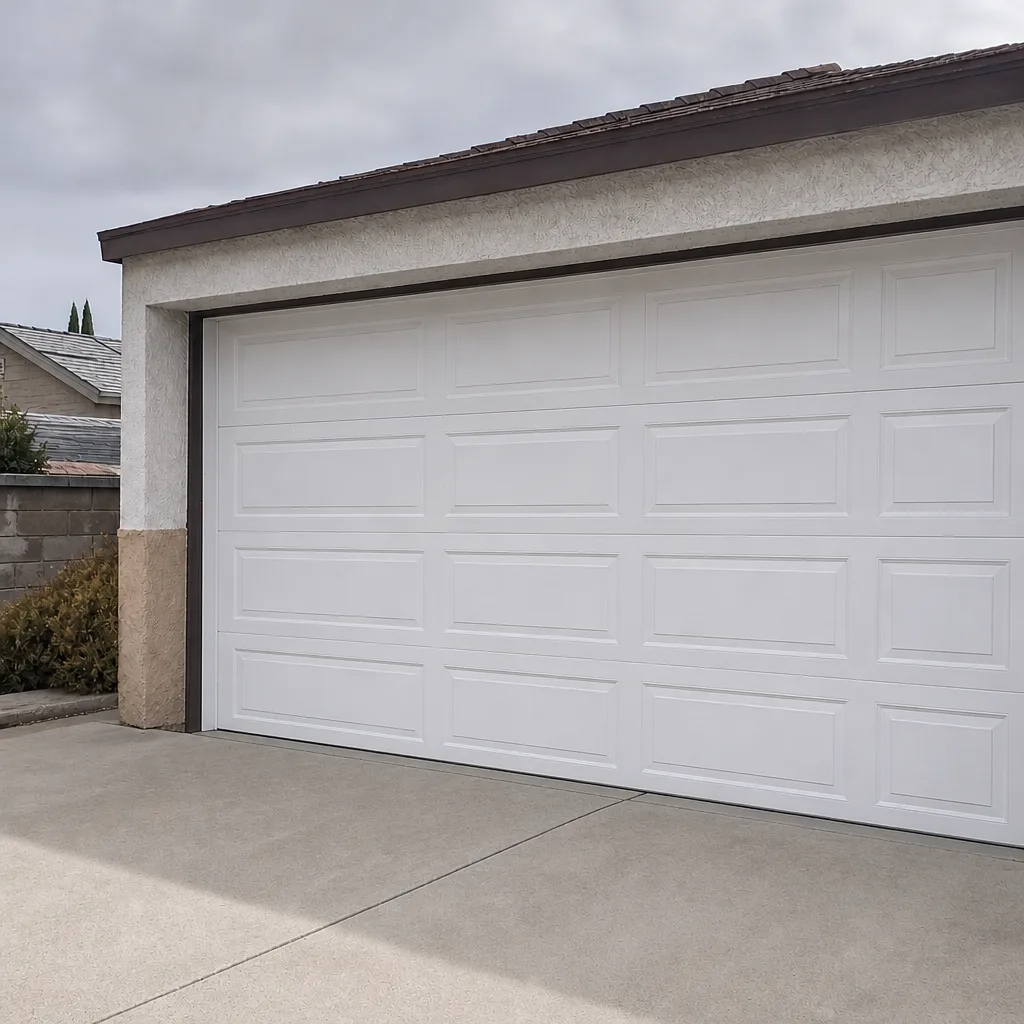 After
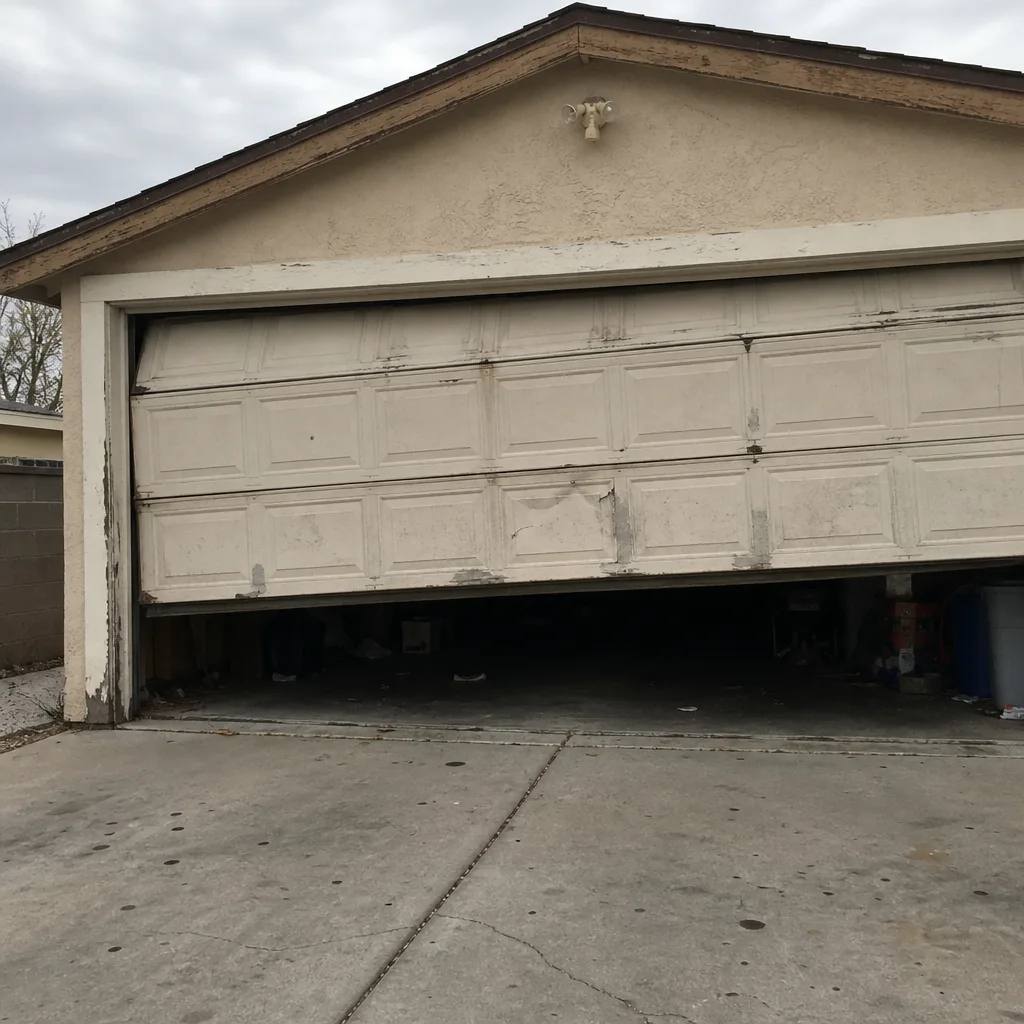 Before
 After
When to Call a Professional
Call us when the job involves any of the following: a torsion spring wind or adjustment, a structural anchor into a header you’re unsure of, a new rough opening cut into existing framing, or any electrical line the opener doesn’t come near to installed. Also call when you don’t have a second person, when the rough opening measures out of square, or when a permit is on the table and you’d rather not find out at inspection whether you got it right. Sunrise Manor’s heat makes this harder than it looks on a cool spring day, and a mistake in summer costs double because the adjustment call can’t happen in the same week.
If your door is already up and you just need it working again, our Garage Door Repair in Sunrise Manor team takes the call either way. We’ve also put together this guide because the honest answer to “can I do this myself?” matters more than a sales line. Free second opinions on any written estimate are a standing offer. Otto’s Garage Door Sunrise Manor offers free estimates in Sunrise Manor. Call (888) 274-8795 and a live person answers, day or night, often Otto himself, and he’ll quote you on the call and hold the number when he gets there.
Frequently Asked Questions
You can do the prep work and the cleanup yourself, but the torsion spring tensioning, the structural anchoring, and any new electrical run need a trained professional. A full installation is a three-step job where a mistake at any one step makes the whole system dangerous, and the spring alone is carrying enough stored energy to seriously injure someone if it lets go during winding. If you want to do the measuring and the painting and leave the install to a pro, that’s a smart split.
On paper it saves $400 to $600 in labor. In practice the DIY savings often shrink to nothing once you count tool rental ($60 to $140), a helper’s day, and the $150 to $275 adjustment call most self-installs need at the end. Fail inspection and the number flips. A professional installation prices the labor into the quote, carries a labor warranty for ninety days on our jobs, and prices are quoted and agreed before any work starts, so there are no surprises on the invoice.
Sometimes, sometimes not. Most policies exclude faulty workmanship, and many insurers treat a homeowner-performed install as uninsured for the door itself. When an insurance company looks at a claim involving a failed spring or a door that dropped, the first thing they ask is who installed it and when. If the answer is “me, last spring,” the claim may go sideways. A written install record with a professional invoice is a much cleaner file.
The door either won’t hold itself up, won’t sit down flat, or fights the opener until something fails. Worse than a nuisance, an overtightened spring carries more stored energy than it’s designed for and can fail catastrophically during a normal up-and-down cycle. We’ve re-tensioned two doors in Sunrise Manor this year where the homeowner wound the spring an extra two turns. One of them had already started binding. The other was a phone call away from the first failure.
It can, if the permits are pulled and the install meets code on every point. The most common fail areas are electrical (extension cord power, ungrounded outlet, missing junction box), safety reversing sensors that don’t work or sit more than 6 inches off the floor, and a door that won’t balance when the opener is disconnected. Call Clark County’s building department before you start to find out whether a permit is required for your specific job. Better to know on day one than on inspection day.
Yes, and it’s a common call. We’ll bring the tools to re-balance the spring, re-anchor the track, fix any electrical the install left open, and get the door working correctly. We don’t take a tone about it and we don’t upcharge to clean up someone else’s work. Upfront pricing means we quote before we come out and the number doesn’t move. Call (888) 274-8795 for an exact quote. Estimates are free.
The Bottom Line
Full garage door installation is three jobs stacked together: structural anchoring, spring tensioning, and opener wiring. You can safely lead the measuring, the rough-opening check, the cleanup, and the painting. You should not touch the spring, the cables, or the electrical without training, because those are the steps where the margin for error is zero. DIY can save $400 to $600 if you have tools, a helper, and a clean rough opening. It can cost more than that the first time a video leaves out the part where someone held the door. If any part of the job is beyond your comfort or your tools, that’s the point to call. A name you can verify and a written guarantee on the invoice is worth more than the four hundred dollars, especially when the spring has 200 pounds of stored energy riding on it and you only get one mistake.
Ready to skip the YouTube reviews? Call (888) 274-8795 for a free estimate in Sunrise Manor. A live person answers, quotes the job, and holds the number when he arrives. Free second opinion on any written estimate, no trip charge inside our county, and the 90-Day Done Right Promise on every job, in writing.
Written by the team at Otto’s Garage Door Sunrise Manor.