
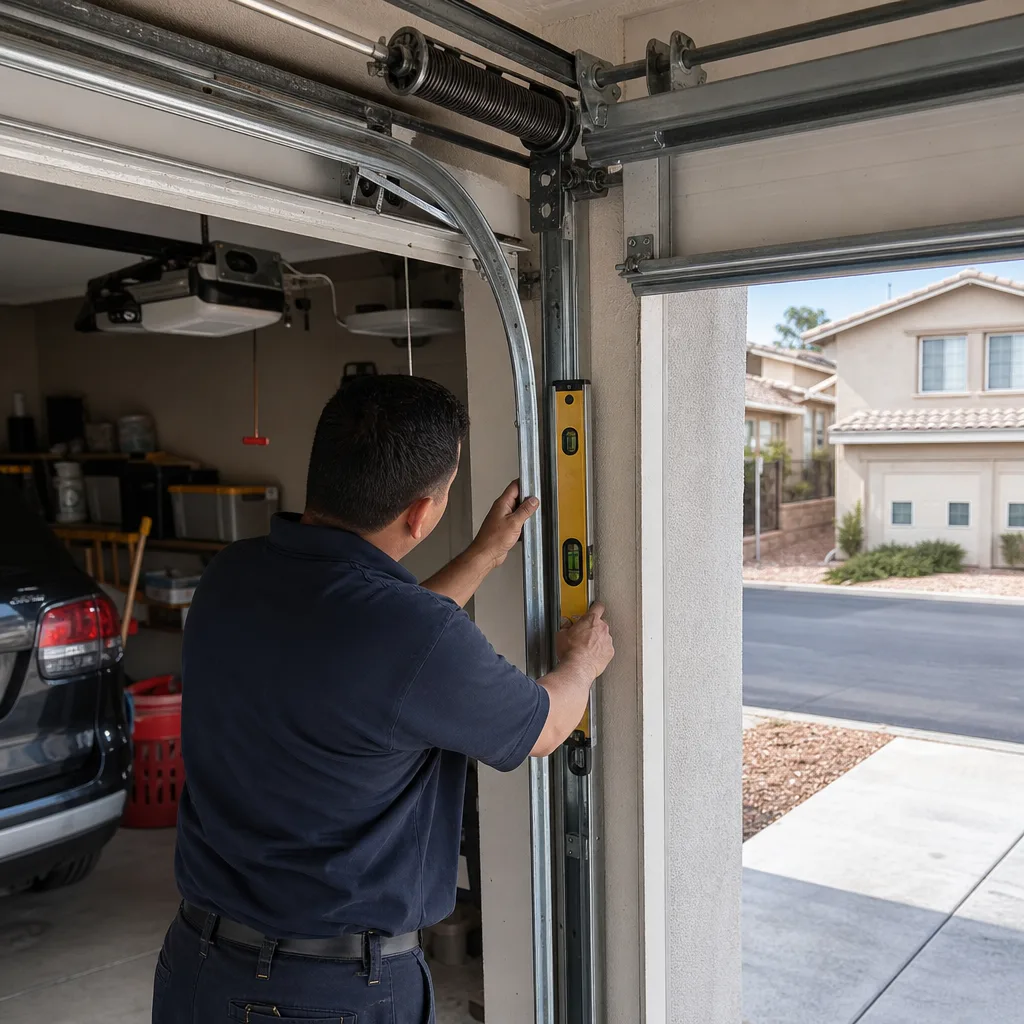
Last updated November 17, 2026
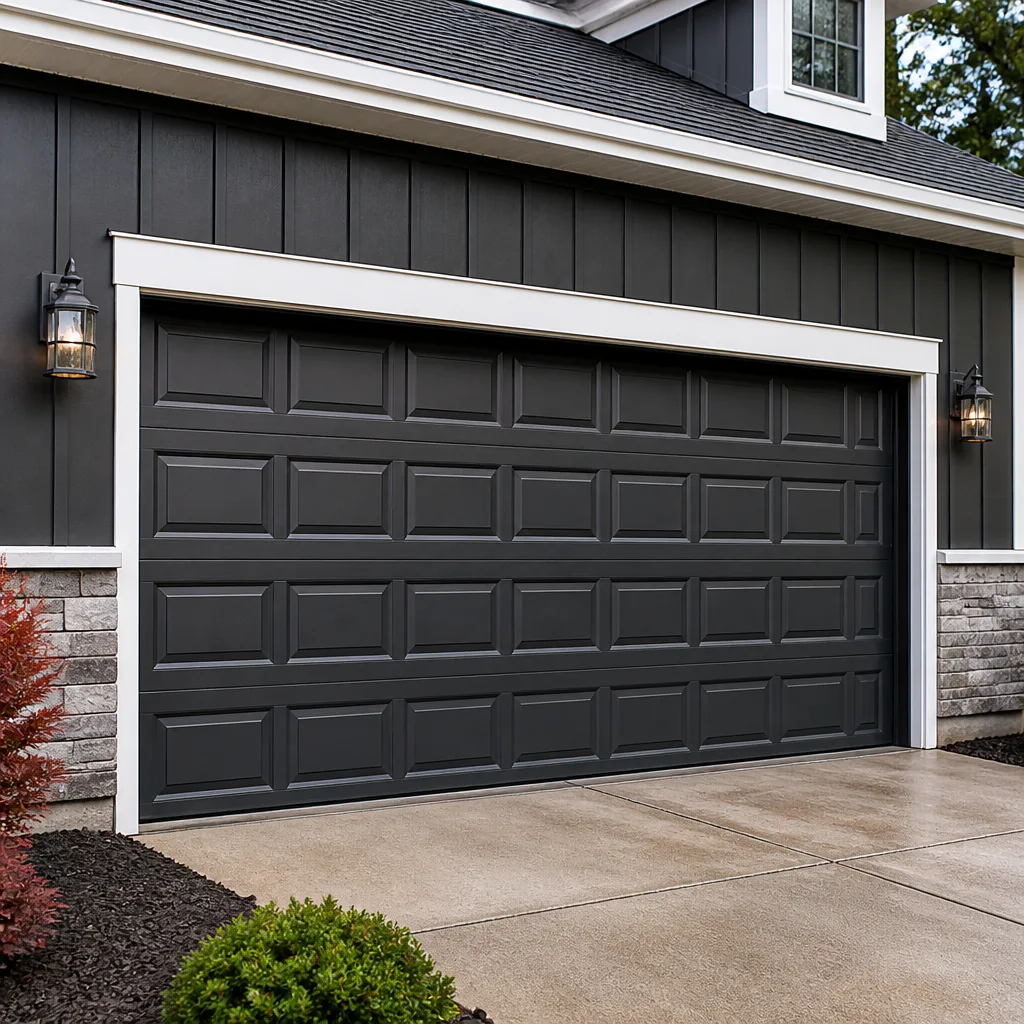 Raised-panel steel
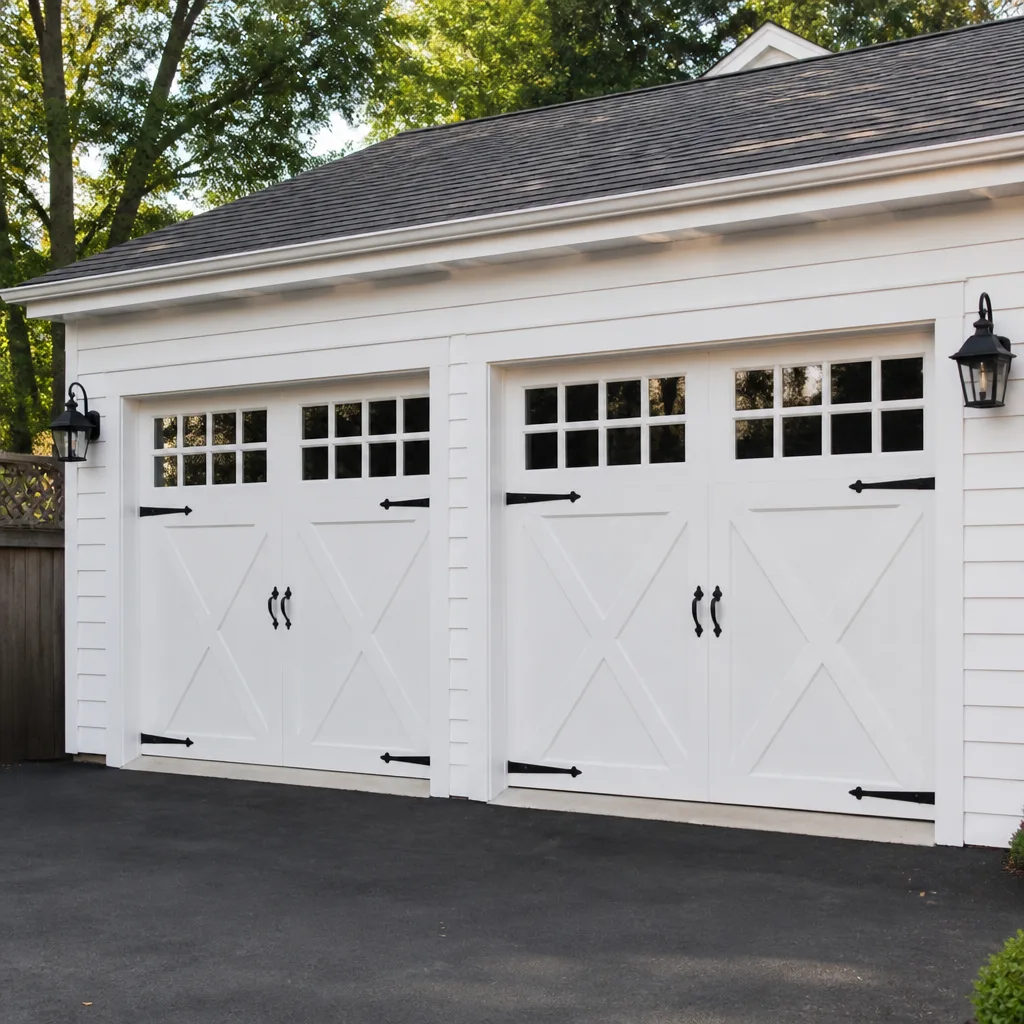 Carriage house
 Modern flush
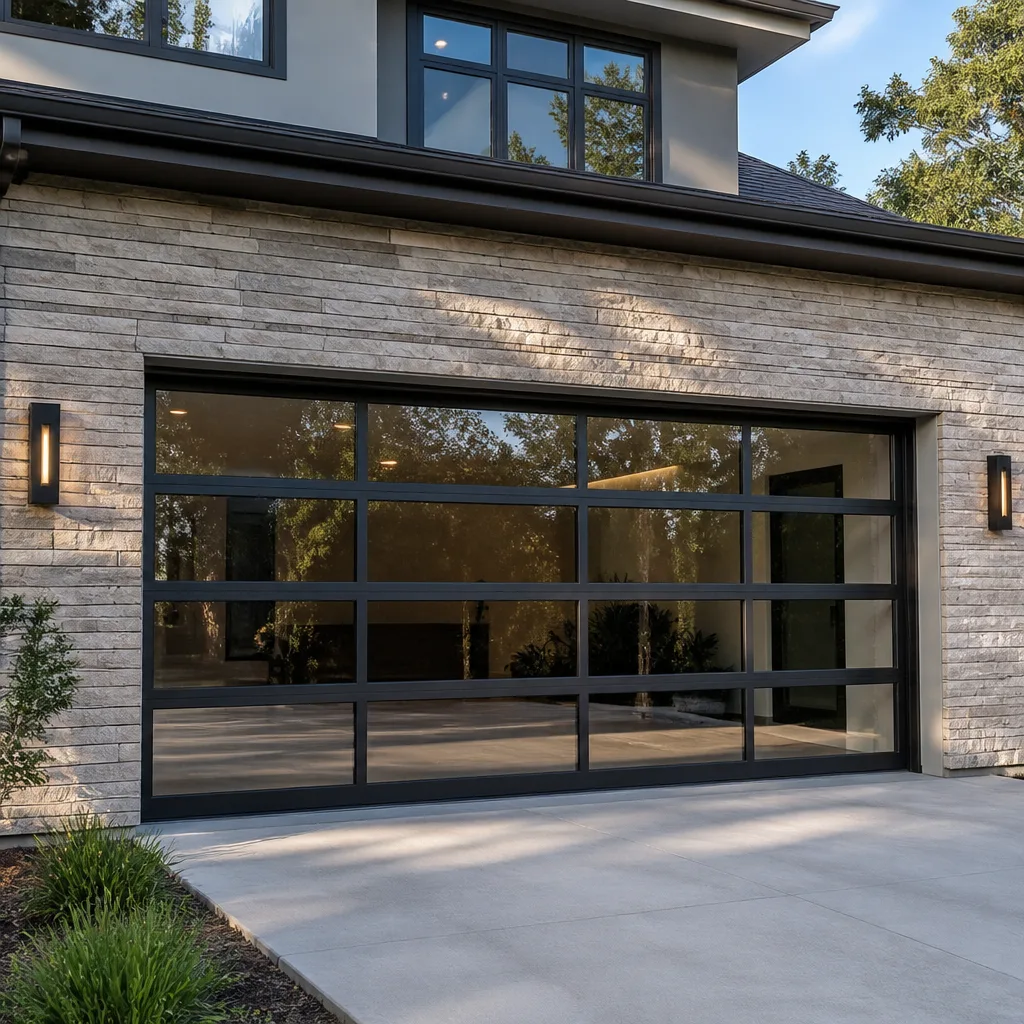 Full-view glass
 LiftMaster openers
 Chamberlain openers
Full 25-point door and opener safety check with every visit - springs, cables, rollers, tracks, and your LiftMaster or Chamberlain opener included
You get a price before we start. It does not change when the pro arrives.
Get your free estimateDIY vs Professional Garage Door Opener Repair & Installation: What’s Safe to Do Yourself
Otto is not against DIY. He’ll tell you straight up that swapping a remote battery, realigning a photo eye, or reprogramming a keypad is stuff you should handle yourself, usually in under ten minutes with no tools beyond a screwdriver. What he won’t tell you is that springs are fine to mess with, because they’re not, and a 150-pound coiled spring doesn’t care how many videos you watched. The real question was never whether you’re handy enough. It’s whether the specific task in front of you sits on the safe side of a line that most DIY guides never bother to draw. This guide draws that line, task by task, and explains what’s on each side. We’ll walk through what you can safely handle, what can hurt you and how fast, which manufacturers void warranties over unlicensed installation, and what DIY actually costs once the second call gets factored in. A few notes here come from jobs we’ve run around Sunrise Manor.
Quick Answer
Opener tasks that live above the door and involve only the head unit, remote, keypad, or sensor are generally safe to DIY, and that covers most of what homeowners actually face. Anything involving the torsion springs, cables, or the door’s balance should go to a professional, because those parts store enough energy to break a bone or worse. So the honest answer: yes to remotes, sensors, and keypads; no to springs, cables, and lifts.
Styles & brands we work with
- Raised-panel steel
- Carriage house
- Modern flush
- Full-view glass
- LiftMaster openers
- Chamberlain openers
Table of Contents
- Where the DIY Line Actually Sits
- Opener Tasks That Are Genuinely DIY-Safe
- Tasks That Require a Pro, and Exactly What Goes Wrong
- The Voided-Warranty Trap on a $300 Opener
- The Real Cost Comparison: DIY vs. Pro
- “I Watched a Video” – Respecting the Instinct, Naming the Gap
- Sunrise Manor Specifics: Heat, Dust, and Older Doors
- A Safe Sequence for the Most Common DIY Fix
Where the DIY Line Actually Sits
The line isn’t about difficulty. It’s about stored energy. A garage door opener is a low-voltage electric motor, a logic board, a radio receiver, and a rail. Working on that stuff is roughly as risky as changing a light switch cover. The door itself is a different animal: two torsion springs under tension, wound steel cables, and a 200-pound panel balanced overhead. When something lets go on that side, it lets go in a fraction of a second and it doesn’t stop to check whether you were being careful.
So the practical split looks like this:
- Safe side: remote pairing, keypad programming, photo-eye alignment and cleaning, force and travel adjustment, wall-button wiring, battery replacement, cleaning the rail, tightening the bracket that holds the head unit to the ceiling.
- Danger side: torsion and extension springs, cables and drums, bottom brackets, track realignment after an impact, and lifting a door that’s come off its track.
In our experience, most homeowners who call us have already correctly diagnosed their own problem. They just don’t know which side of the line it sits on. That’s the gap this next section closes. If you want the full picture of what we handle, our Garage Door Repair in Sunrise Manor page lays it out plainly.
Opener Tasks That Are Genuinely DIY-Safe
Here’s the good news: the tasks that are safe to do yourself are also the tasks that cause most of the calls we get. Roughly half the “my opener is broken” calls we run around Sunrise Manor turn out to be a dead remote battery or a sun-blinded sensor. You can knock those out yourself.
- Pairing a new remote: the opener’s learn button sits on the back or side of the head unit; press it, then press the remote, done. On LiftMaster and Chamberlain units the button is color-coded and the manual spells it out.
- Reprogramming a keypad: same logic, no tools, and it’s the single most common reason a homeowner thinks their opener has failed.
- Realigning a photo eye: if the door starts down and reverses itself, look at the two sensors at the bottom of the tracks. A bumped one, a spider web, or a leaf in the beam will stop it cold. Wipe the lens and aim the LED at the other sensor until it holds steady.
- Adjusting force and travel limits: these are the two dials or menu settings on the head unit. If the door reverses too easily or doesn’t close all the way, the manual tells you which direction to turn. Adjust in small steps and test after each one.
- Replacing the backup battery: on a belt-drive Genie or a Chamberlain with battery backup, this is a five-minute job at most.
- Tightening the ceiling bracket: an opener that rattles or shakes usually has a loose lag bolt where the rail mounts to the ceiling. Snug it up and most of the noise goes away.
The reason each of these is safe comes down to one thing: none of them require you to touch a part that’s holding force. The motor is off, the door is down, and you’re working with a screwdriver and your hands.
Tasks That Require a Pro, and Exactly What Goes Wrong
Now the other side. “Dangerous” is too vague a word for this. Here’s what actually happens:
- Releasing a torsion spring without winding bars. The spring stores enough energy to spin a winding bar out of your grip in under a second. When that happens the bar becomes a flying steel rod, and the spring unwinds into your hands or face. There’s no partial version of this injury. It’s a hospital visit.
- Loosening the bottom bracket while cables are under tension. The cables are holding the door’s weight. Back off that bracket and the cable whips free, the door drops, and the bracket comes off with it. The cable doesn’t care where your fingers are.
- Cutting or adjusting a stretched cable by hand. A snapped garage door cable can move faster than you can react. This is why we don’t hand homeowners cable work, period.
- Lifting a door that’s off its track. A 200-pound panel that’s leaning can come down on you. If the door is off the track, leave it exactly where it is and call.
We’ve seen the aftermath on jobs across Sunrise Manor, often on doors that had been fine for years and then came apart on a Saturday afternoon. The reason this work belongs to a pro isn’t that we’re stronger than you. It’s that we know the sequence, we use the right tools, and we’ve counted enough springs to know what a tired one looks like before it fails. Otto counts spring cycles the way you count tire miles, and he’ll tell you what’s left on yours. When a spring is the problem, that’s a job for repair done right, not a weekend project.
The Voided-Warranty Trap on a $300 Opener
Here’s a detail most DIY guides skip entirely: the warranty. When you buy a new opener from Genie, Chamberlain, LiftMaster, or another major manufacturer, the warranty is conditioned on professional installation. What “professional” means varies by brand, and the fine print matters. Several manufacturers require installation by a licensed or factory-authorized technician; do the job yourself and the warranty can be void from day one, before you’ve even pressed the learn button.
Why that matters on a $300 unit: the motor, logic board, and radio receiver are the parts that fail. Those repairs run $150 to $280, and if the warranty is void, that’s your money. On a $300 opener with a fresh install, you could be out the full purchase price plus the repair cost before the first year is up.
There’s a practical way to check before you buy or install:
- Read the warranty page in the manual, not the marketing sheet. Look for the phrase “installation by a licensed professional” or similar.
- Ask the manufacturer directly if a self-installed unit is covered. Get the answer in writing if you can.
- If you’re installing for someone else, or you’re not the purchaser, the warranty may not transfer to you at all.
We’re fluent in all the major brands and we’ll walk through the warranty implications before you commit either way. You can see the full scope on our Garage Door Opener Repair & Installation in Sunrise Manor page.
The Real Cost Comparison: DIY vs. Pro
The sticker price is not the cost. The cost is what you spend from first attempt to final fix. Here’s the honest version:
- Remote or keypad reprogram: DIY $0 to $25 (battery or a replacement remote from the hardware store) vs. pro $75 to $125 for a service call. This one’s a clear DIY win.
- Photo-eye realignment: DIY $0 vs. pro $75 to $110. Again, DIY.
- Force and travel adjustment: DIY $0 vs. pro $90 to $140. DIY, but only if the manual is clear and you go in small steps.
- Opener replacement (new head unit and rail): DIY $200 to $350 in parts, plus $0 to $80 in tools you may not own, plus your afternoon, plus the warranty risk. Pro $400 to $700 installed, with a written warranty. If the DIY install has a problem, add a $150 to $250 second call to sort it out. The gap closes fast.
- Spring replacement: there is no honest DIY comparison here. The pro cost is $180 to $340 for a reason, and the reason is the hospital bill you’re avoiding.
The math gets ugly in one specific place: the second call. The DIY install that goes sideways on a Saturday, gets a half-finished opener hanging off the rail, and needs a pro to make it safe can end up costing more than the job would have from the start. When you do call, know that we quote the job on the phone and hold the number when we get there. Otto’s Garage Door Sunrise Manor has a Free Second Opinion on any written estimate, and a $40 Off Any Repair Over $200 standing offer. If you’re staring at a half-finished install, that second opinion matters.
“I Watched a Video” – Respecting the Instinct, Naming the Gap
We respect the instinct. Genuinely. The urge to fix your own door is the same urge that invented the folding ladder and the cordless drill, and it’s the reason a homeowner can look at a garage door and think “I could handle that.” Otto isn’t here to talk you out of it. He’s here to name the gap.
The gap is context. A video shows one door on one house. It doesn’t show the twelve-year-old spring on your door that’s lost half its tension, the slightly bent track from a fender bender two years back, or the way the bottom bracket was installed by a builder who took a shortcut. The technique is universal. The door is not. A pro reading your door in person catches the second and third problems before the first attempt starts. That’s the piece the video can’t give you, and it’s the whole reason our technicians have up to 22 years of experience on this trade.
The other honest piece: the video doesn’t feel the tension. On a torsion spring, the difference between “this is fine” and “this is about to let go” is a matter of feel, and you only develop that by winding springs for years. Nothing to be ashamed of. It’s the same reason you’d rather not learn a root canal from an afternoon of videos.
Sunrise Manor Specifics: Heat, Dust, and Older Doors
Garage doors here don’t live in a gentle climate. A few things we see routinely around Sunrise Manor that change the DIY calculation:
- Afternoon heat and photo-eye failure: the low sun in late afternoon hits west-facing sensors dead-on. This is the single most common reason a door reverses on its own around here. Cleaning and re-aiming the sensor often fixes it; if it doesn’t, the sensor itself has aged out.
- Dust on the rail and rollers: desert dust gets into roller bearings and on the opener rail. A noisy door that coasts rough usually needs a roller and track cleaning, not a new opener. We see this in Sunrise Manor on doors that haven’t been serviced in three or four years.
- Older doors with extension springs: many Sunrise Manor homes still run the older extension-spring system rather than torsion. Extension springs can fly if they break, and a lot of our repair work here involves adding a safety containment cable. That’s a pro job every time.
- Insulation and sun exposure: a west-facing door bakes in the summer. If you’re replacing one, this matters for your power bill. Our Garage Door Installation in Sunrise Manor page covers insulated door options like Clopay and Amarr for exactly this climate.
Sensors here also fail faster from heat cycling. A cheap sensor can lose its alignment after a hundred days of 105-degree afternoons. That’s a real reason to have us out on the problem rather than replacing sensors by trial and error.
A Safe Sequence for the Most Common DIY Fix
The most common “my opener is broken” call we get is really “the door reverses or the remote doesn’t work.” Here’s the safe way to sort that out yourself:
- Check the remote battery first. It sounds obvious and it solves more calls than anything else. A fresh coin cell is under five dollars.
- Test the wall button as a second path. If the wall button runs the door but the remote doesn’t, the problem is in the remote or the pairing, not the opener.
- Look at the photo eyes. Stand where you can see both sensors. Are both LEDs steady? If one is blinking, wipe both lenses and aim the offending sensor at the other until both hold steady.
- Check for anything in the beam. A leaf, a kid’s toy, a broom handle, a cat. We’ve found all four.
- Adjust force and travel in small steps. If the door still reverses, the manual tells you which setting to nudge. Change one notch, test, and repeat. Don’t jump the setting.
- Listen to the door. A grinding or groaning door that’s also failing often has a mechanical problem upstream. That’s the point where you stop and call.
If you get through that list and the door’s still misbehaving, the problem is in the door or the opener’s internals, and that’s where a pro earns the visit. For a broader view of what we handle locally, start at Otto’s Garage Door Sunrise Manor home.
Common Mistakes to Avoid
- Working on the springs because the door “feels light.” A door that feels light means the springs have lost tension, which is exactly when they’re most likely to fail. Leave them alone.
- Using a screwdriver to hold a torsion spring. We’ve seen it done, and we’ve seen the aftermath. It bends, it slips, and the spring does exactly what it wants.
- Replacing the opener when the door is the problem. If the opener is straining, the problem is almost never the opener. It’s usually a binding track, a bad roller, or a tired spring.
- Installing a new opener without reading the warranty page. On a $300 unit, this can void your coverage before the first year ends, and the parts that fail are the expensive ones.
- Ignoring a door that reverses on its own. In Sunrise Manor, this is often a sun-blinded sensor, but if it isn’t, the safety reverse is telling you something is binding. Don’t disable it.
- Skipping the homeowner’s manual on force and travel settings. Adjusting these blind is the fastest way to make a working door into a broken one.
- Not taking the second opinion. If you have a written estimate from another company, we’ll look at it for free. That’s not a sales tactic; it’s how a homeowner figures out whether the quote is fair.
See the difference
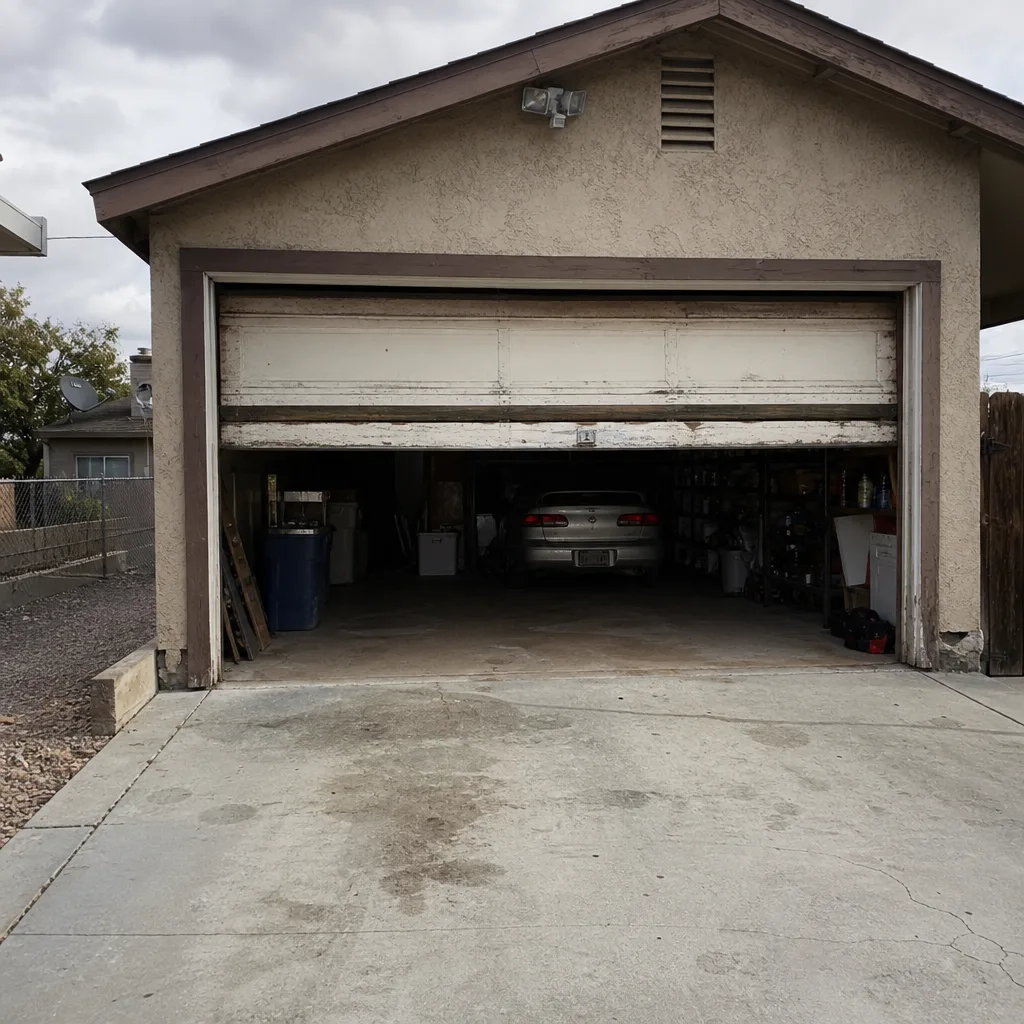 Before
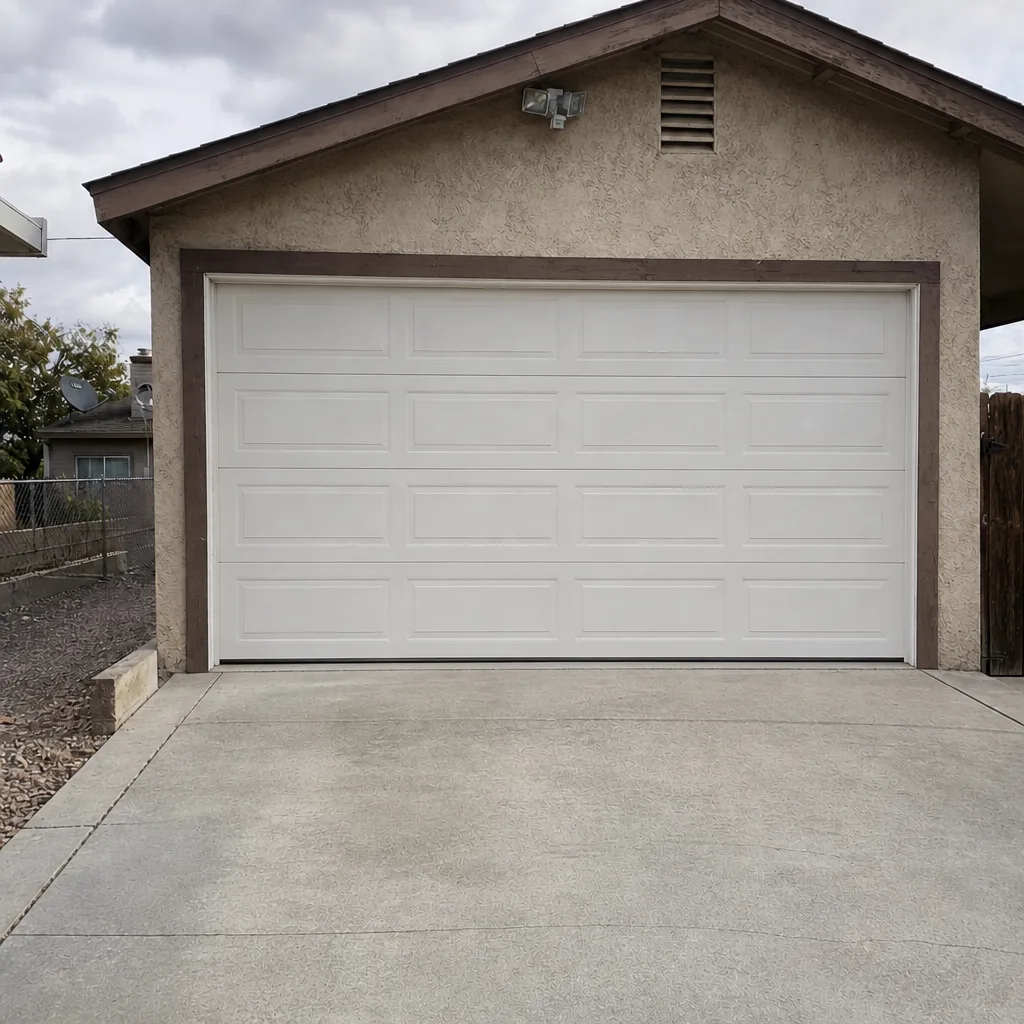 After
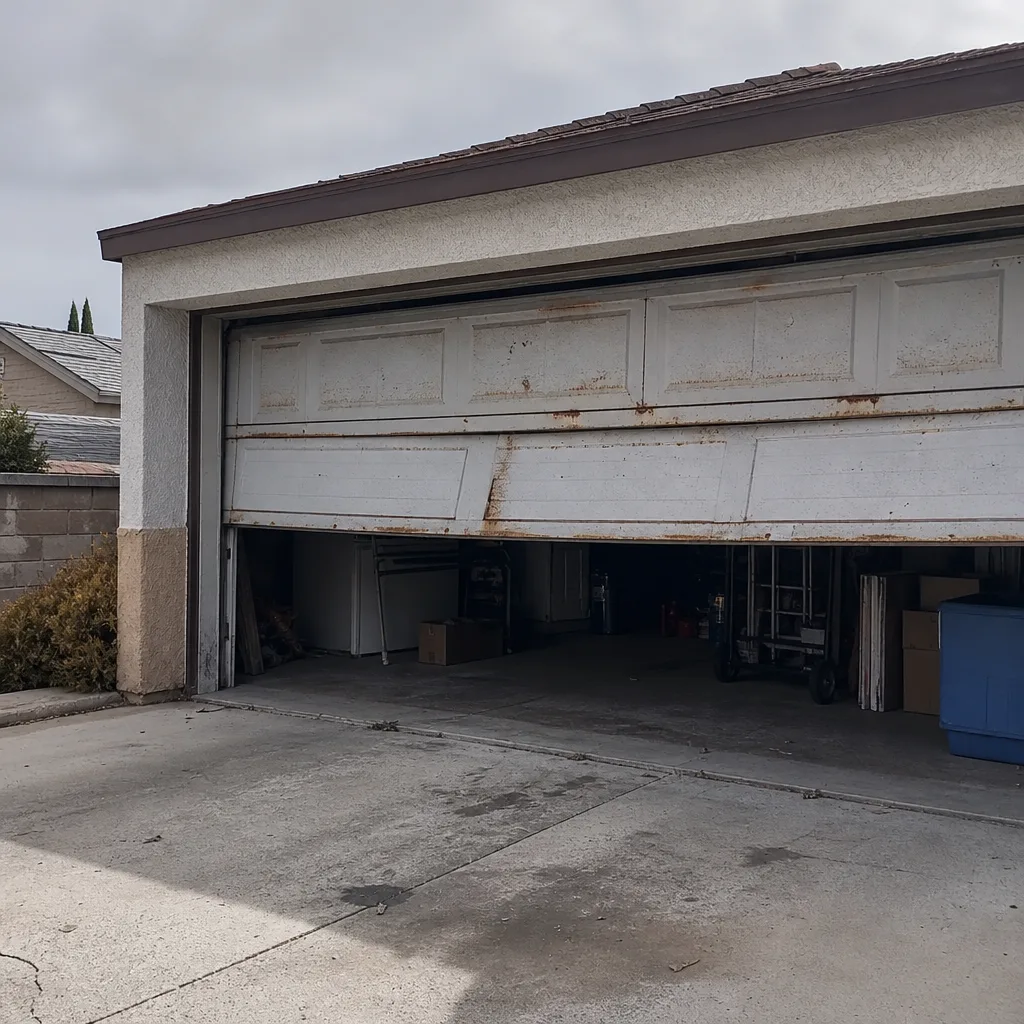 Before
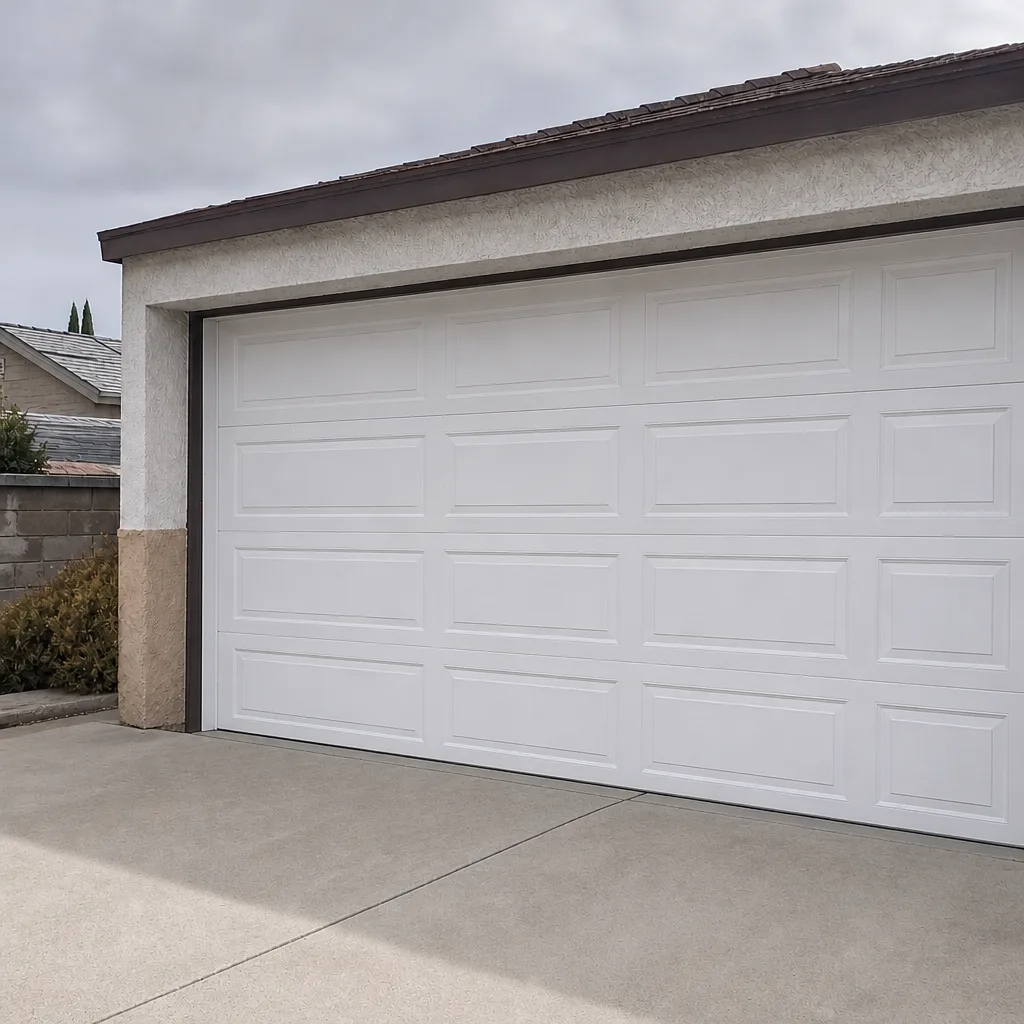 After
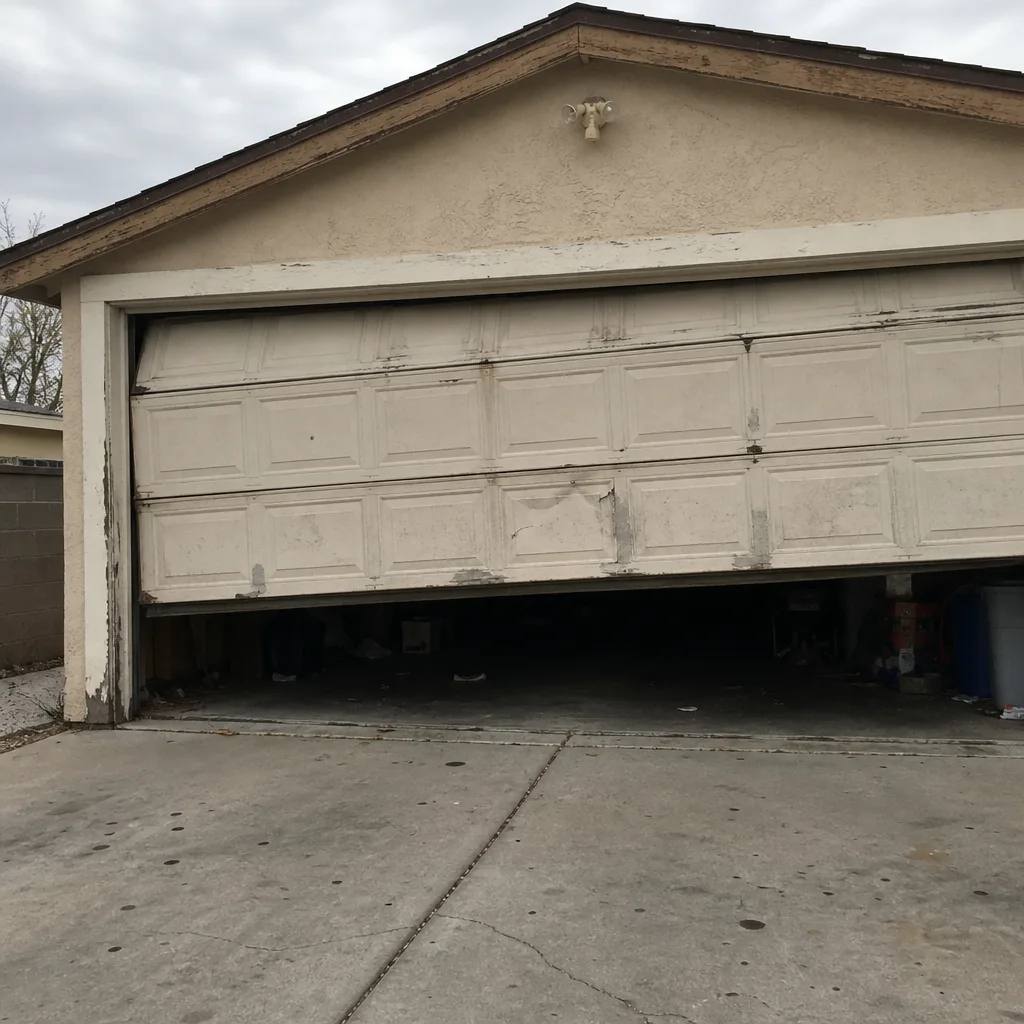 Before
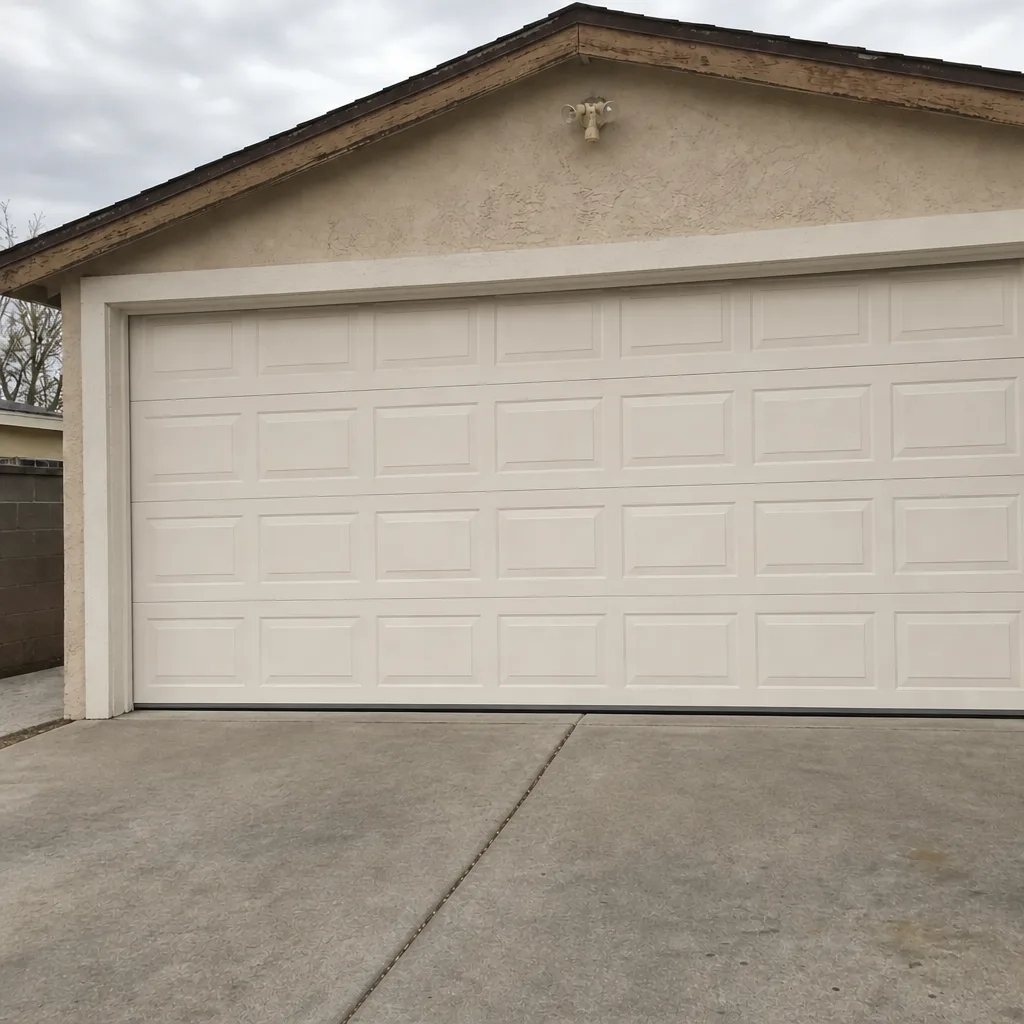 After
When to Call a Professional
Call us the moment the job involves springs, cables, a door that’s come off its track, or a door that won’t balance. Call us if you’ve tried the DIY-safe list and the door still misbehaves. Call us if the opener is straining, groaning, or reversing on its own after you’ve cleaned the sensors. Call us before you install a new opener if you haven’t read the warranty page. And call us if the door is old, has extension springs, or you’re just not sure which side of the line you’re on. There’s no shame in a quick question.
Otto’s Garage Door Sunrise Manor offers free estimates in Sunrise Manor, and a live person answers the phone around the clock. Call (888) 274-8795 and we’ll talk it through.
Frequently Asked Questions
You can install a mechanical opener yourself, but the warranty is the part that trips people up. Several major manufacturers void the warranty if a non-licensed tech does the installation, and the parts that fail are the ones the warranty would have covered. If you’re set on DIY, read the warranty page in the manual before you buy and keep your receipt. If you’re unsure, call us at (888) 274-8795 and we’ll give you a straight answer for free.
No. Spring replacement is the single most dangerous task in garage door work, and the danger is not theoretical. A torsion spring stores enough energy to drive a winding bar through drywall or into a person before you can react. Call a professional. This one isn’t a preference; it’s a safety line, and our repair page covers what that job involves.
In Sunrise Manor, the most common reason is the photo eye getting hit by the low afternoon sun, especially on west-facing doors. Clean and re-aim the sensors first. If the door still reverses, something is binding in the track or the safety reverse is out of adjustment, and that warrants a visit. Call us and we’ll take a look.
It can. Genie, Chamberlain, LiftMaster, and several others condition their warranty on professional installation, and the fine print uses language like “licensed professional.” On a $300 unit, that’s a real risk. Before you install, check the warranty page in the manual or call the manufacturer. We’re happy to review the warranty implications with you before you commit.
Most opener repairs in Sunrise Manor run $90 to $280 depending on the part, with a full replacement running $400 to $700 installed. The number we quote on the phone is the number we hold at the door. Call (888) 274-8795 for an exact quote. Estimates are free, and if you have a written estimate from someone else, we’ll look at it for free through our Second Opinion offer.
No. A door off its track is a 200-pound panel leaning in the wrong direction, and it can come down on you while you’re working. Leave it exactly where it is and call us. We can have someone out, quote the job on the call, and get the door back on track safely.
The Bottom Line
The line between DIY and pro isn’t about whether you’re handy. It’s about stored energy. Remotes, keypads, photo eyes, and force settings are genuinely safe to handle yourself, and you should. Springs, cables, and lifts are not, and the reason is the injury mechanism, not the difficulty. Add in the warranty trap on a new opener and the real cost of a second call when an install goes sideways, and the DIY case narrows faster than most guides admit. If you’re unsure which side of the line you’re on, call (888) 274-8795 and we’ll give you a straight answer, free.
Otto’s Garage Door is here for the work that stays on our side of the line. Our technicians have up to 22 years of experience across all the major brands, and our 90-Day Done Right Promise is written on every invoice. Whether it’s a spring, a cable, or a new opener install, we’ll quote you before the visit and hold that number at the door. Call (888) 274-8795 for a free estimate.
Written by the team at Otto’s Garage Door Sunrise Manor.