
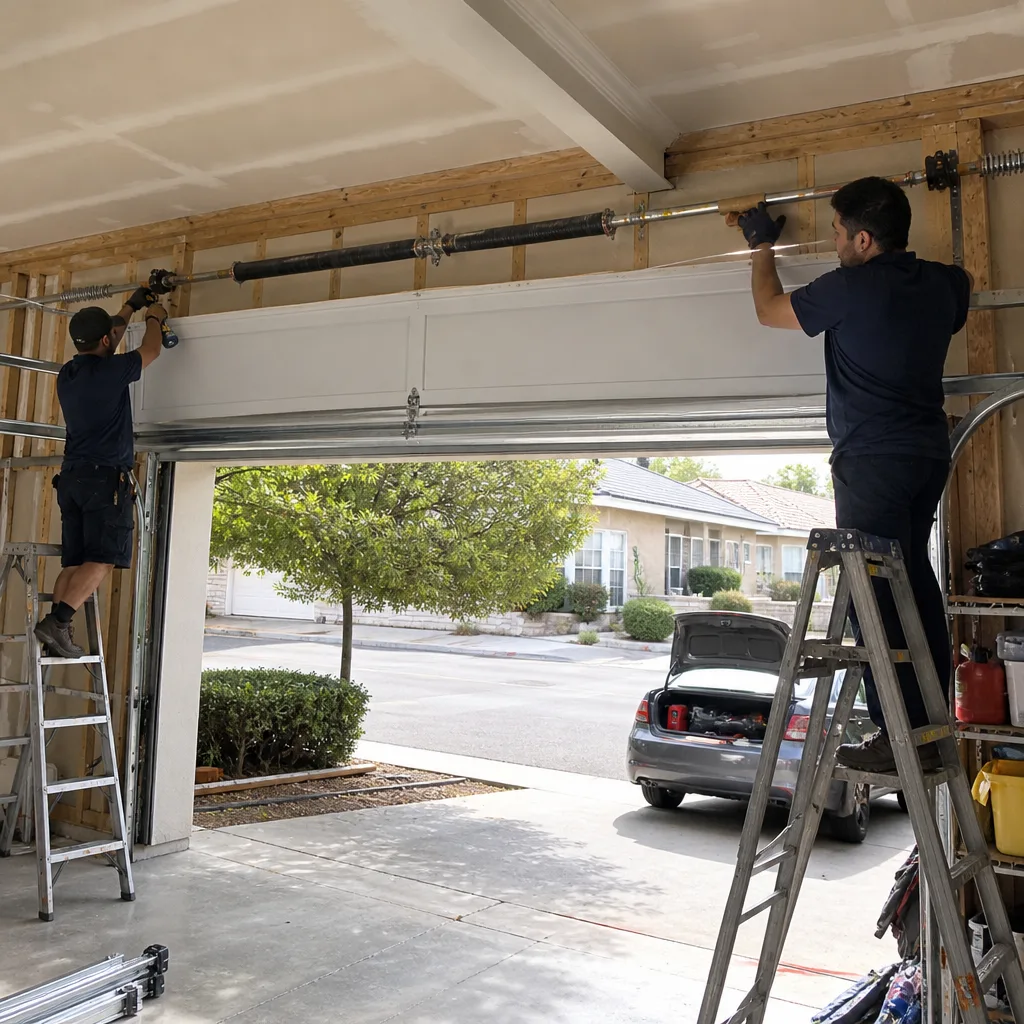
Last updated November 17, 2026
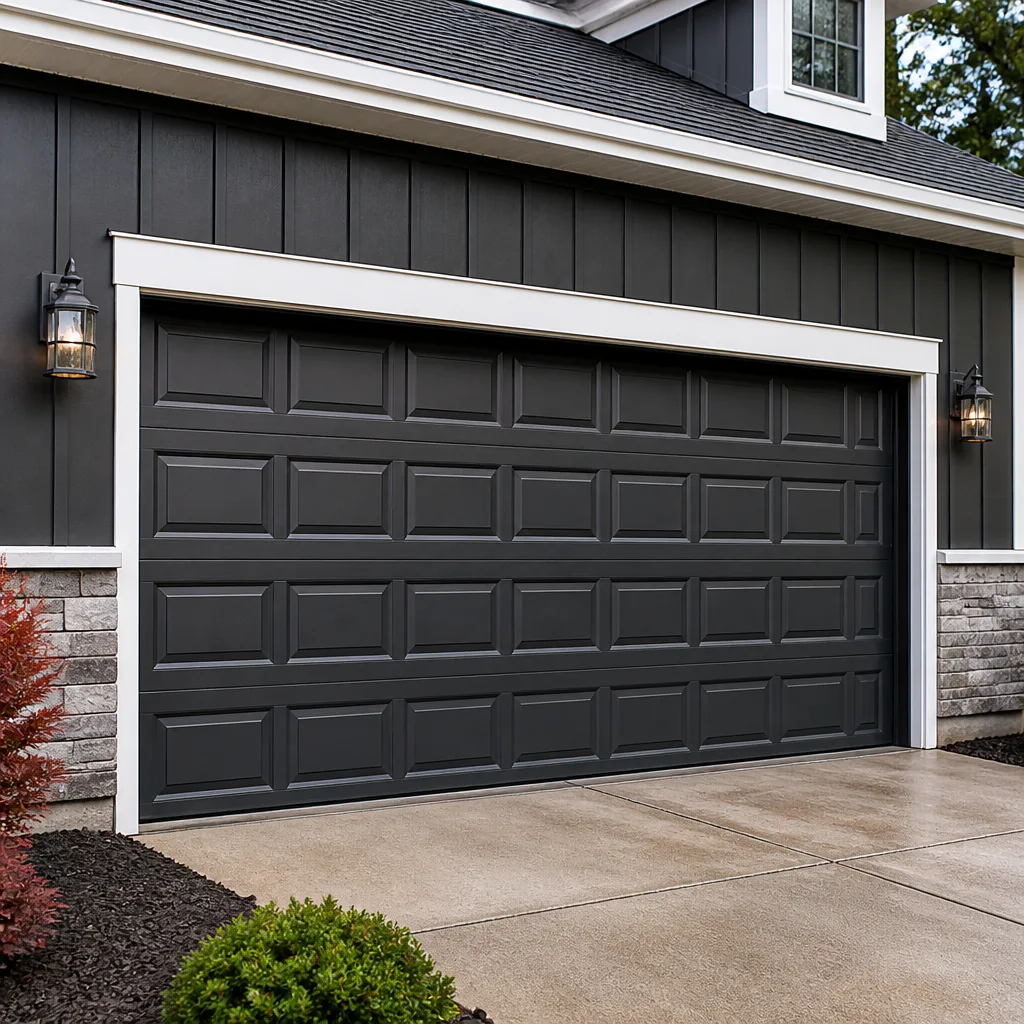 Raised-panel steel
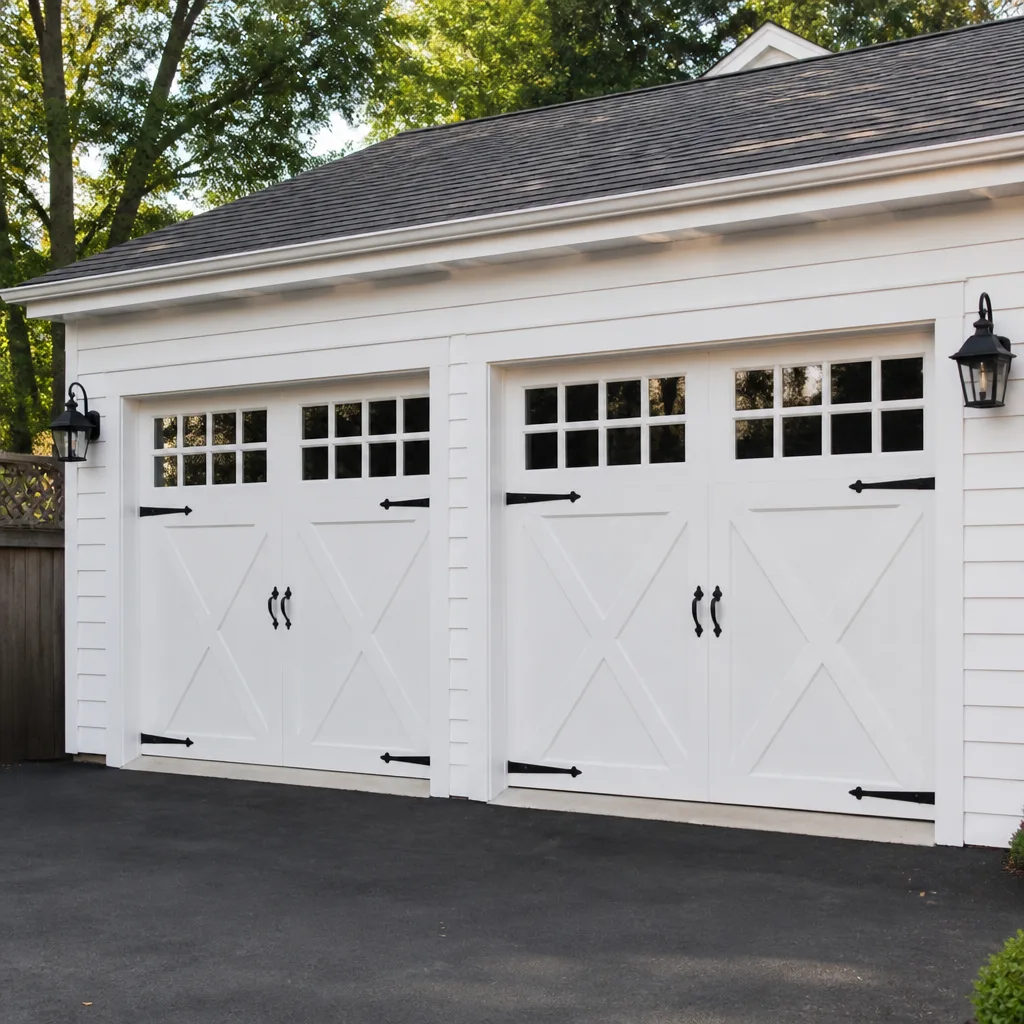 Carriage house
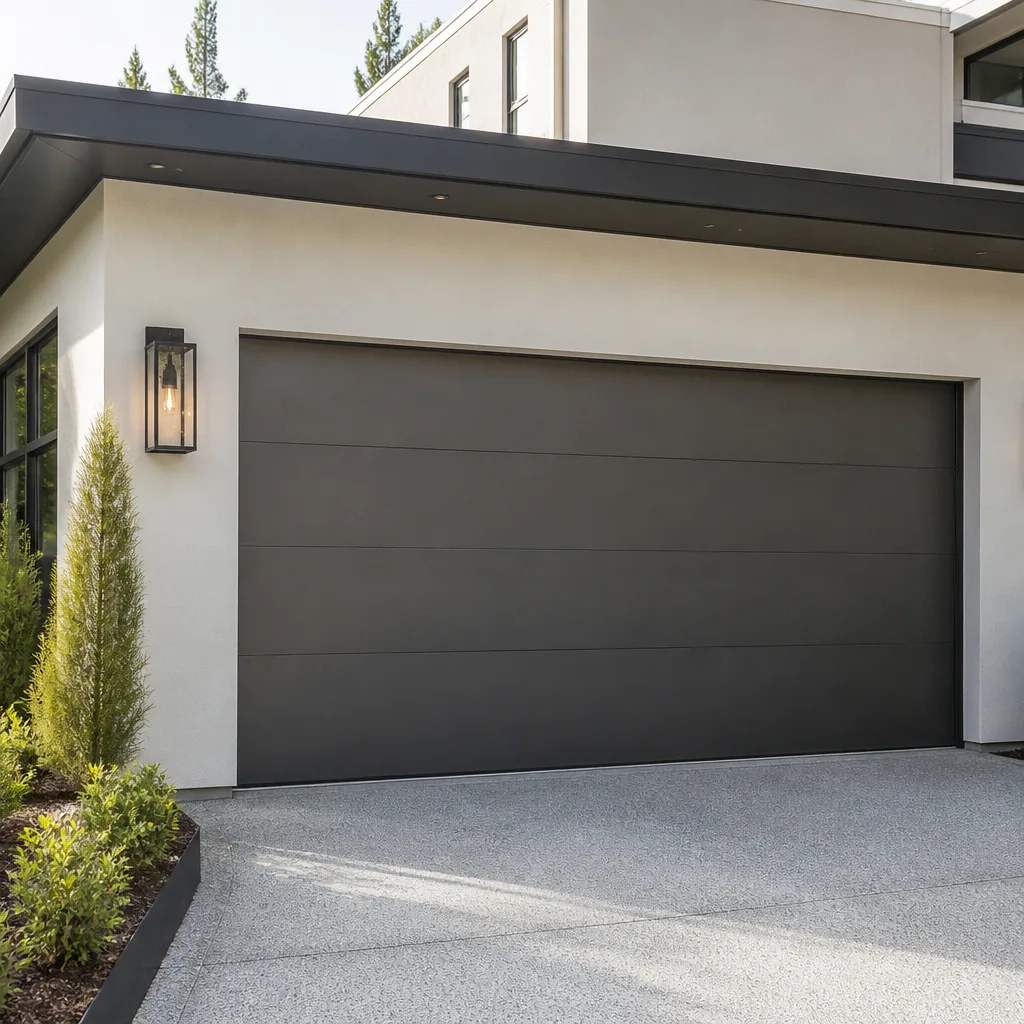 Modern flush
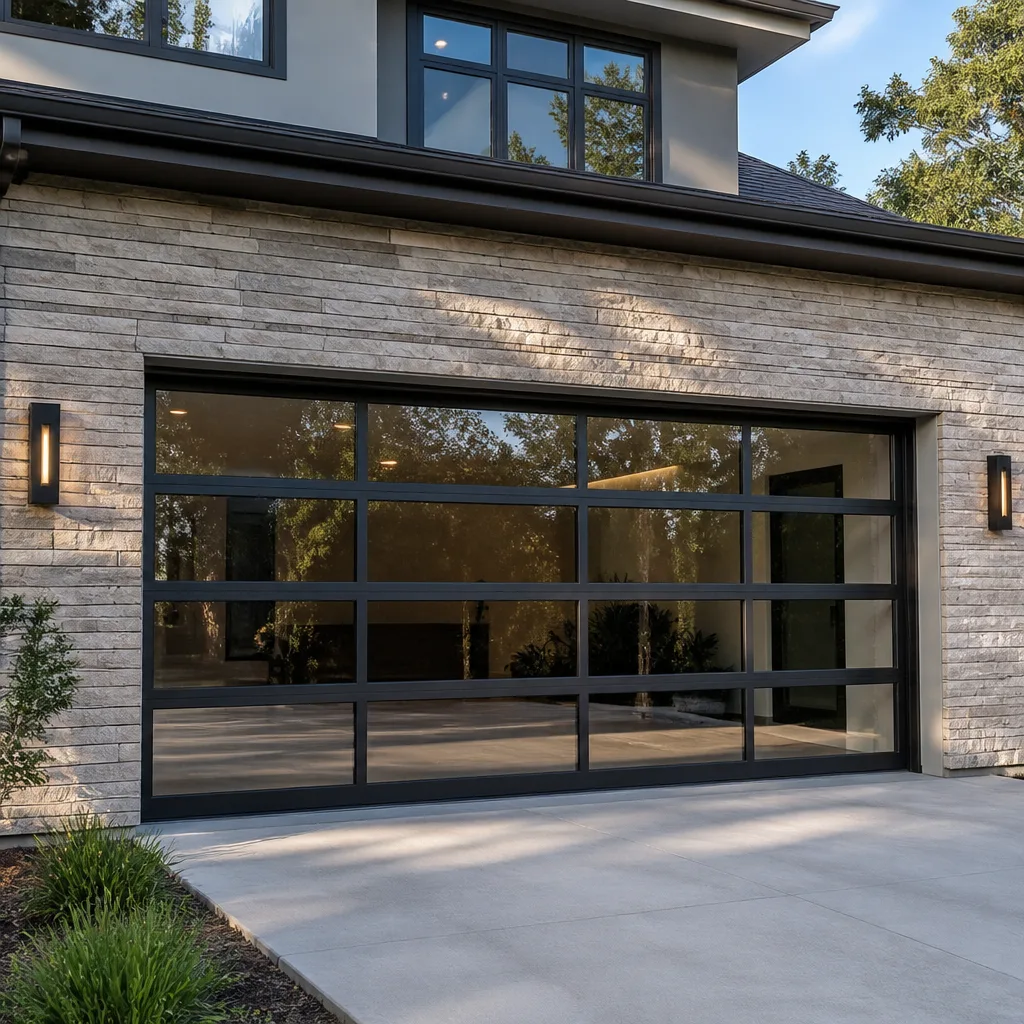 Full-view glass
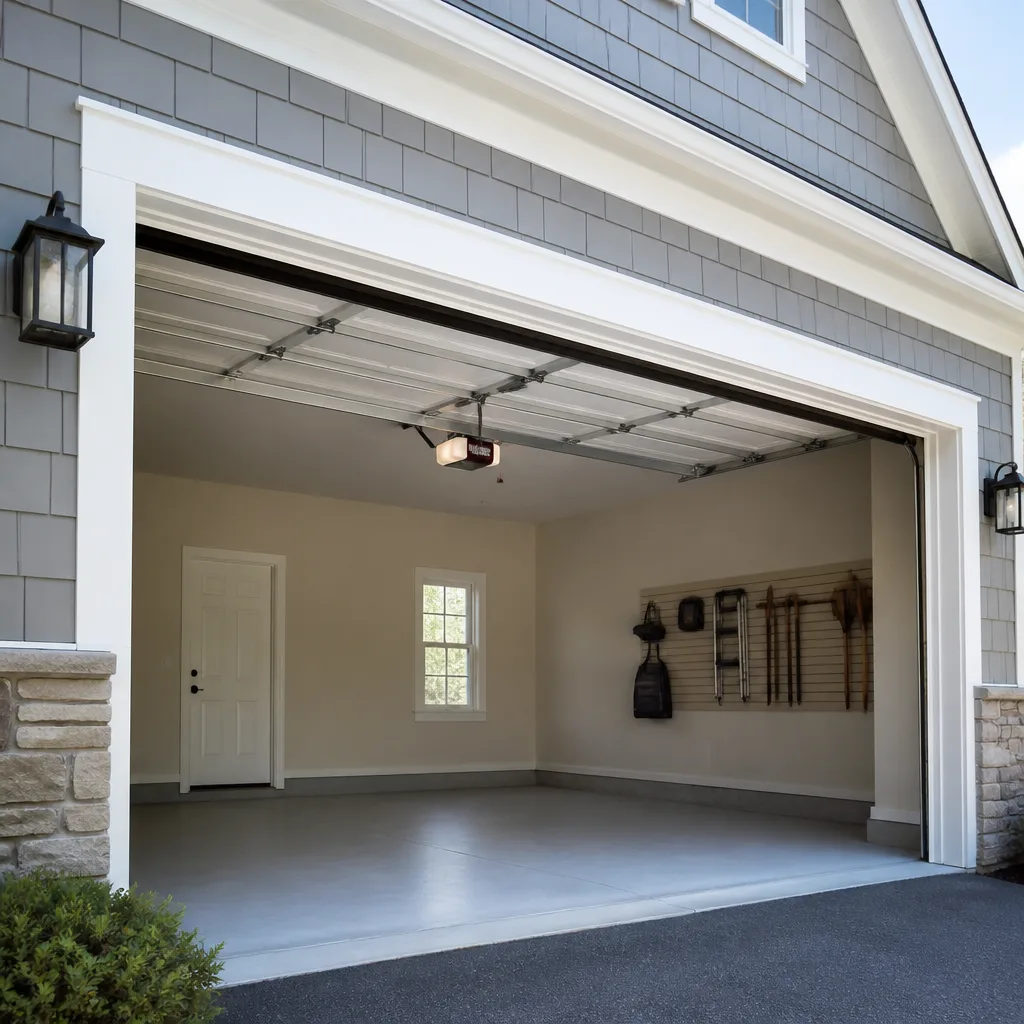 LiftMaster openers
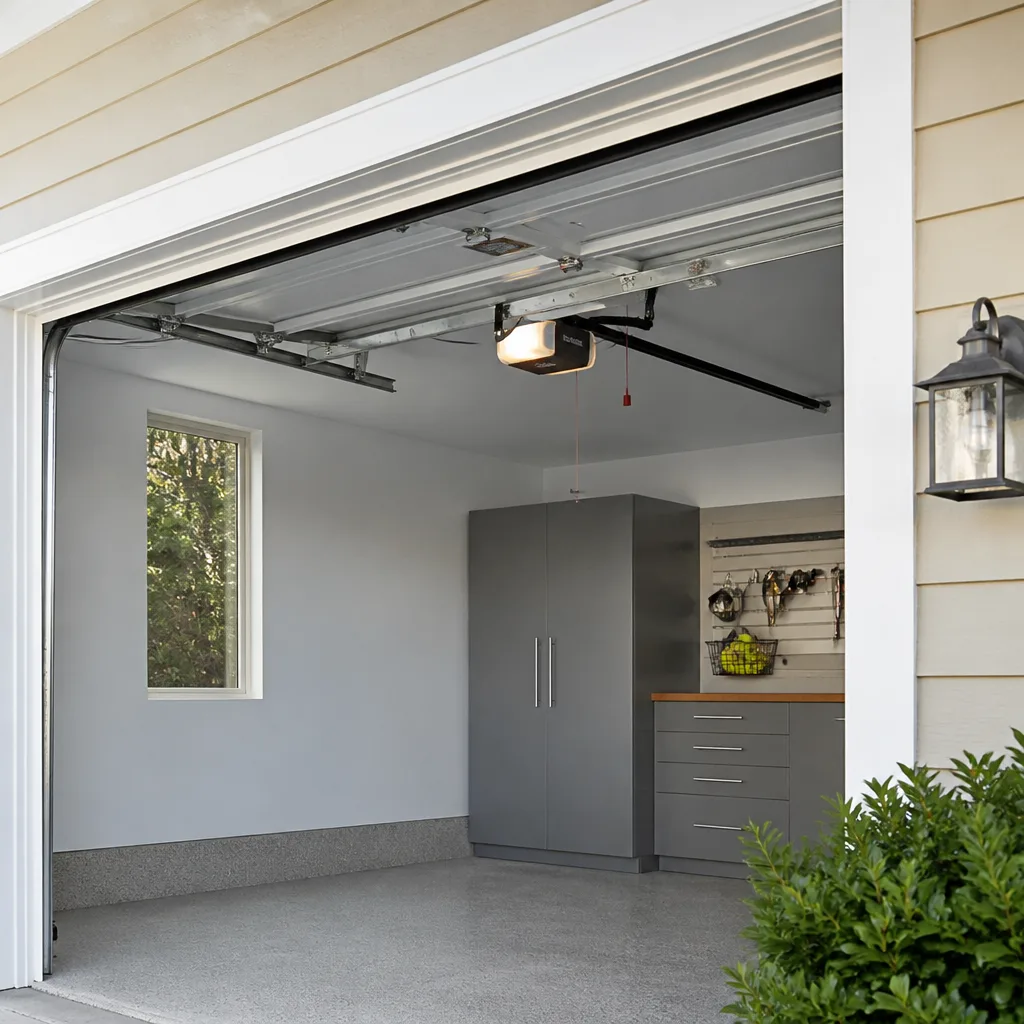 Chamberlain openers
Full 25-point door and opener safety check with every visit - springs, cables, rollers, tracks, and your LiftMaster or Chamberlain opener included
You get a price before we start. It does not change when the pro arrives.
Get your free estimateGarage Door Installation Troubleshooting: Common Problems and How to Fix Them
The most common new-installation callback we get isn’t a defective door. It’s a good door hung on a frame that was out of plumb by half an inch – something a level would’ve caught in three minutes before the first screw went in. That’s the pattern we see across Sunrise Manor: the door gets measured right, then installed in a different order than the manufacturer intended, and a predictable symptom shows up weeks or months later. This guide works backward from four symptoms – binding on one side, an uneven gap at the floor, opener strain, and a door that drifts open on its own – and tells you which step got skipped to cause each one.
Quick Answer
Most garage door installation problems trace to four predictable failure points: an out-of-square frame, track spacing outside tolerance, an opener that doesn’t match the new door’s weight, and installation done out of the manufacturer’s sequence. You can diagnose each symptom yourself with a tape measure and a level in a few minutes. Fixing what a level uncovers is often a professional job – a door is 200 pounds riding on two springs, and those springs and cables deserve respect.
Styles & brands we work with
- Raised-panel steel
- Carriage house
- Modern flush
- Full-view glass
- LiftMaster openers
- Chamberlain openers
Table of Contents
- Symptom 1: The Door Binds on One Side
- Symptom 2: Uneven Gap at the Floor
- Symptom 3: Opener Strain or Grinding
- Symptom 4: The Door Drifts Open on Its Own
- Checking If Your Frame Is Square Before the Door Arrives
- Track Spacing: What “Within Spec” Actually Means
- The Opener-to-Door Compatibility Check Everyone Skips
- What to Photograph Before and After Installation
Symptom 1: The Door Binds on One Side
If your door rubs, hesitates, or shudders on one side while the other side rides smooth, the door itself is almost never the problem. Binding on one side tells you the two vertical tracks aren’t in the same plane. One was set slightly ahead of or behind the other, or one was pushed in or out so the panels wedge on the way up.
Here’s what to check before you call anyone:
- Stand inside and sight up each vertical track against a plumb line. If one track leans and the other doesn’t, you’ve found it.
- Run the door up a foot and stop. Look at the gap between each side of the door and its track. They should be even. If one side is tight against the track and the other has a finger of daylight, the tracks are out of plane.
- Look for rub marks on the panel edges. The side that binds will have a fresh scuff line where the door has been dragging.
The fix is adjusting one track back into plane – but both tracks have to move together or you just move the binding to the other side. In Sunrise Manor we see this a lot after a door was installed in summer heat, when the wood frame had swelled, then the door dried out and shifted come fall. That half-inch seasonal movement is enough to pull a track out of line. Track work happens on a door under real spring tension, so it’s one of those jobs where a trained professional earns their keep. Our team can re-set tracks and re-tension safely with the right tools.
Symptom 2: Uneven Gap at the Floor
A wedge-shaped gap – wide at one end, tight at the other – almost always means the bottom section wasn’t leveled when it went up, or the threshold itself is out of level. New doors only sit flat if the floor is flat, and a lot of older Sunrise Manor slab floors have settled a bit over the years.
Walk it through in order:
- Put a four-foot level across the bottom panel. If the door panel isn’t level, the bottom section was hung crooked and needs to be reset.
- Put the same level on the concrete under the door. If the floor isn’t level but the panel is, the gap is the floor’s fault, not the door’s.
- If both read level and you still have a gap, the bottom weather seal is too short for the low spot, or a threshold was never installed.
Uneven gaps are a real problem in this climate. Sunrise Manor sits in the Mojave, where wind-blown grit and blowing dust work their way under any opening you leave. A gap the width of a pencil lets pests and dust in and lets conditioned air out. The usual fix is a proper bottom seal and, where it helps, a threshold ramp. Both are cheap compared to what a door that slams crooked will do to the opener over a year. If you want to see how we handle the full replacement picture, our Garage Door Installation in Sunrise Manor page covers the details.
Symptom 3: Opener Strain or Grinding
If the opener is straining, the problem is almost never the opener. A new door that’s heavier than the one it replaced, paired with the old opener, is the most common culprit we run into. When the door doesn’t balance – its own weight held by the torsion springs – the opener ends up lifting or dragging that weight instead of just guiding it. You hear it groan. The motor runs hot. Then the gears strip.
Do the balance test first. Close the door, pull the manual release, and lift it by hand to about waist height. A correctly balanced door stays put. A door that shoots up or drops to the floor is out of balance, and the opener is fighting it.
Then check the opener’s match. A door in this part of the county often gets upgraded to a heavier insulated model – a Clopay or Amarr steel-back, for instance – while the opener stays put. That old opener may be rated for a lighter door than the one you just bought. A LiftMaster or Chamberlain unit sized for the new door’s weight, with the correct torsion springs, ends the strain. A Genie or LiftMaster that hesitates is telling you the door needs balancing, not a bigger motor.
If you’re not sure whether the opener or the door is at fault, our Garage Door Opener Repair & Installation in Sunrise Manor page walks through the part-by-part test. The springs and cables that hold that door up carry dangerous tension – leave those to a professional. Never reach for a cable under load.
Symptom 4: The Door Drifts Open on Its Own
A door that creeps up a foot after you close it – or slides open overnight – usually means the springs were wound too tight for that door, or the opener’s travel limits were set wrong. An over-wound spring or a miscalibrated opener thinks the door has farther to travel than it does.
The tell is timing. If the door drifts within an hour of closing, look at the opener travel limits and the down limit switch. If it drifts open slowly over a day, suspect the spring balance again – the door wants to rise because it’s over-tensioned. Either way, springs are the one thing you don’t adjust yourself. A torsion spring holds enough force to break an arm. On top of that, an open door on a Sunrise Manor home at night is a security problem, and a door that lifts while you’re not watching leaves the house wide open.
Adjusting opener limits is something a careful homeowner can do from the manual on many models. Spring balance – on LiftMaster, Chamberlain, Genie, the brand really doesn’t change the risk – is a professional call every time. We’d rather you call on a spring winding than try to muscle it.
Checking If Your Frame Is Square Before the Door Arrives
This is the check most installers skip, and it’s the root of the callback problem. A frame off by half an inch doesn’t look wrong until the door is hung and the symptoms show up. You can catch it yourself in three minutes with a tape measure, before the new door is delivered.
The diagonal method:
- Measure from the top-left corner of the opening to the bottom-right corner. Write it down to the eighth of an inch.
- Measure from the top-right corner to the bottom-left corner. Write it down.
- Subtract one from the other. If the two diagonals match – both reading, say, 110 and a quarter – the frame is square. If they’re off by a quarter-inch or more, the frame is racked and the door will always pout in one corner.
Racked frames are common in older Sunrise Manor construction where the opening has moved with the soil and the heat. Fix the frame first, then hang the door. We measure diagonals on every installation before the door is ordered for exactly this reason – it’s the difference between a door that runs true and one that needs a callback. If you’d like the frame checked while you’re still picking a door, see our full Garage Door Repair in Sunrise Manor service or call for a free measure.
Track Spacing: What “Within Spec” Actually Means
Track spacing near the floor, the space between the vertical tracks where the door slides, should be tight enough to guide the door but loose enough to slide clean of grit. Your door manufacturer publishes an exact number for your model – often around three-quarters of an inch over the door’s width, with a tolerance of about an eighth of an inch side to side. Those are real numbers, not marketing, and you can check them yourself.
Here’s how to measure without guesswork:
- With the door down, measure the clear space between the inner faces of the two vertical tracks at the bottom, at the middle, and at the top.
- The top and bottom readings should match within about an eighth of an inch. If they don’t, one track is cocked and the door will bind as it travels.
- Check the gap between the door’s edge and the track on each side. It should be even, side to side, top to bottom.
In Sunrise Manor, our dust and wind make track clearance a little forgiving at the loose end and unforgiving at the tight end. A track jammed so the door has no wiggle room will rub itself dry in a single summer.
The Opener-to-Door Compatibility Check Everyone Skips
When the old door comes off and a new heavier one goes on, the opener is the part that gets forgotten – and it’s the part that quietly fails six weeks later. Before your door goes up, run this check:
- Door weight: your new door has a published weight. The opener has a rated lift capacity. If the door is heavier than the opener can lift, the opener is the wrong opener for the job.
- Opener vintage: a 2004-era opener paired with a modern insulated door is a mismatch in more ways than one. Older openers don’t have the travel or the smart features a new door needs to run clean.
- Springs and opener: the springs do the lifting; the opener steers. Make sure the springs were sized for the new door’s weight before you trust the opener to do its job.
We’ve seen this in Sunrise Manor when a homeowner reuses a working opener on a new heavier steel-back door and wonders why it burns out by fall. If you’re upgrading the door, budget for the opener match at the same time – it saves a second visit. Our team works across LiftMaster, Chamberlain, Genie and the rest, and can tell you in one look whether your existing opener is up to the new door.
What to Photograph Before and After Installation
This is the simplest step and the one nobody does. If a warranty or callback dispute ever comes up, photos settle it in five minutes instead of a week of arguing.
Before the install:
- Shoot the four corners of the existing opening, wide enough to see the frame and the floor.
- Measure and photograph a level and a tape against the opening – diagonals, widths, the gap under the old door.
- Photograph any pre-existing damage: cracks in the slab, rot at the jamb, a bent track.
After the install:
- Shoot the same four corners with the new door hung.
- Photograph the bottom seal against the floor at both ends and the middle.
- Photograph the warranty paperwork and the written quote you signed, side by side.
Every job we do carries the 90-Day Done Right Promise in writing on the invoice, and photos plus that written promise make a dispute a non-issue. If something’s off, a photo shows it was off, and we make it right. Call (888) 274-8795 for a free estimate, and our team will bring the level and the tape.
Common Mistakes to Avoid
- Hanging the door on an unchecked frame. The half-inch of rack no one measured will bind the door in one corner for years. Check the diagonals before the door arrives, always.
- Reusing an old opener on a heavier new door. The opener isn’t rated for the lift, and it fails slowly. Match the opener to the door’s actual weight.
- Setting tracks tight with no clearance. In Sunrise Manor’s dust, a door with no side clearance rubs itself raw by the second summer. Leave it in spec, not jammed.
- Ignoring the floor while blaming the door. A wedge-shaped gap often means the slab is out of level, not the door. Level both before you fix either.
- Doing spring or cable work yourself. A door is 200 pounds riding on two springs. Those springs store enough force to break bone, and a winding mistake is a trip to the emergency room.
- Skipping the balance test after install. Pull the manual release and lift the door by hand. If it doesn’t hold where you leave it, the springs are wrong.
- Skipping the photos. No before-and-after shots, no settled dispute. Take the photos and keep the written quote.
See the difference
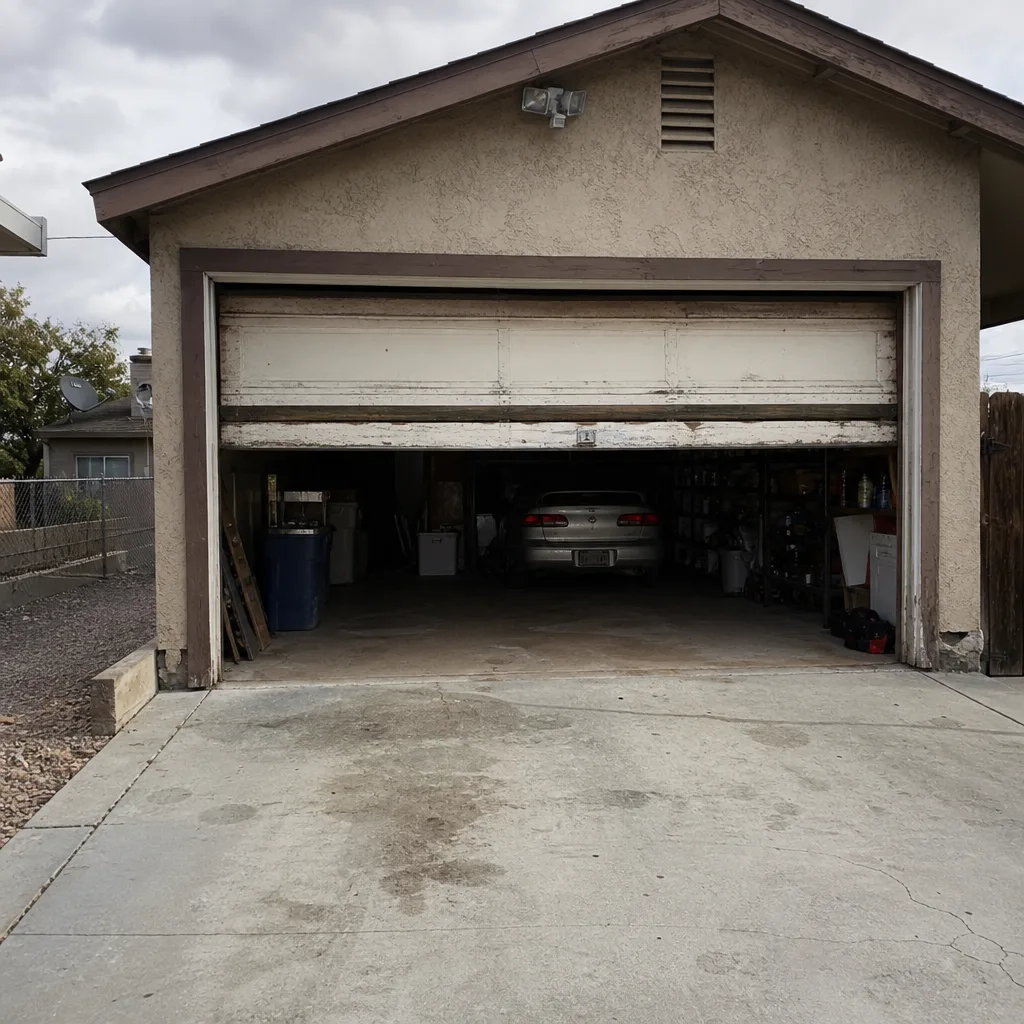 Before
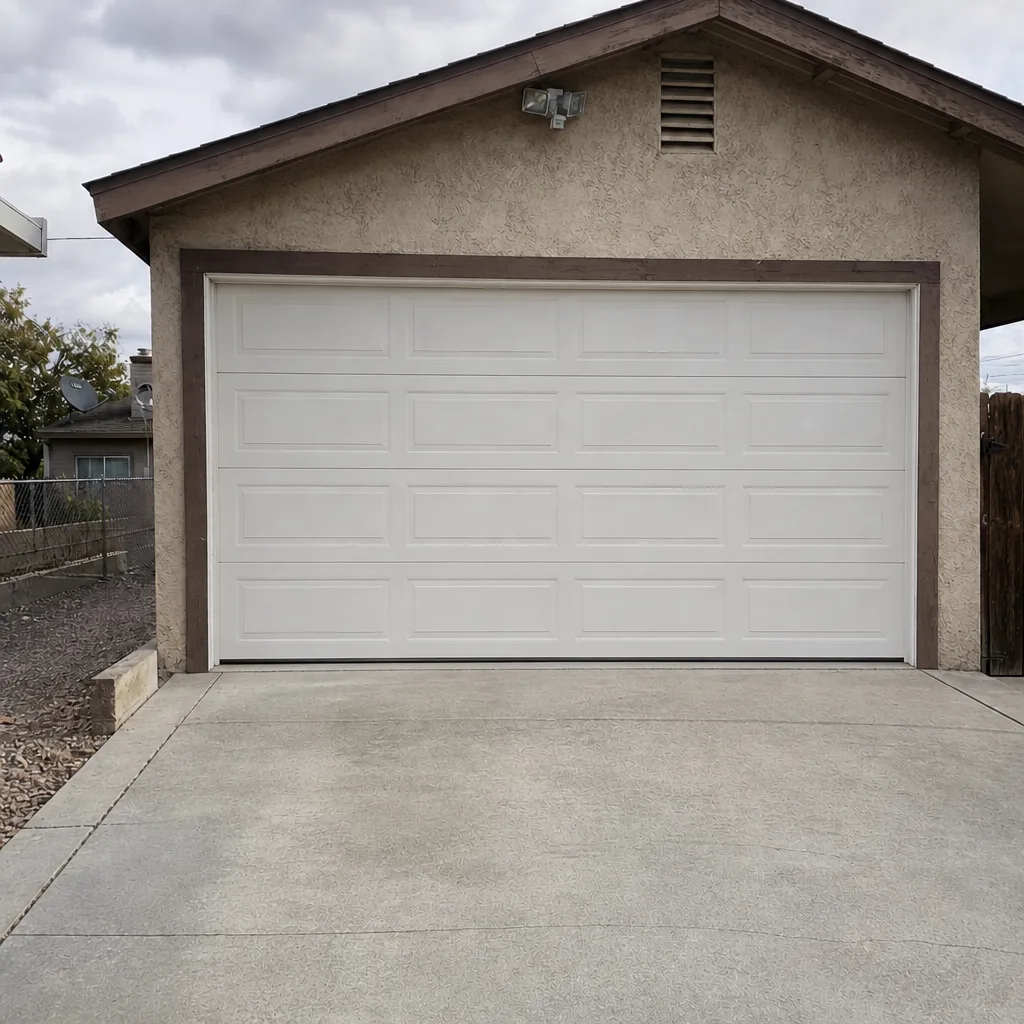 After
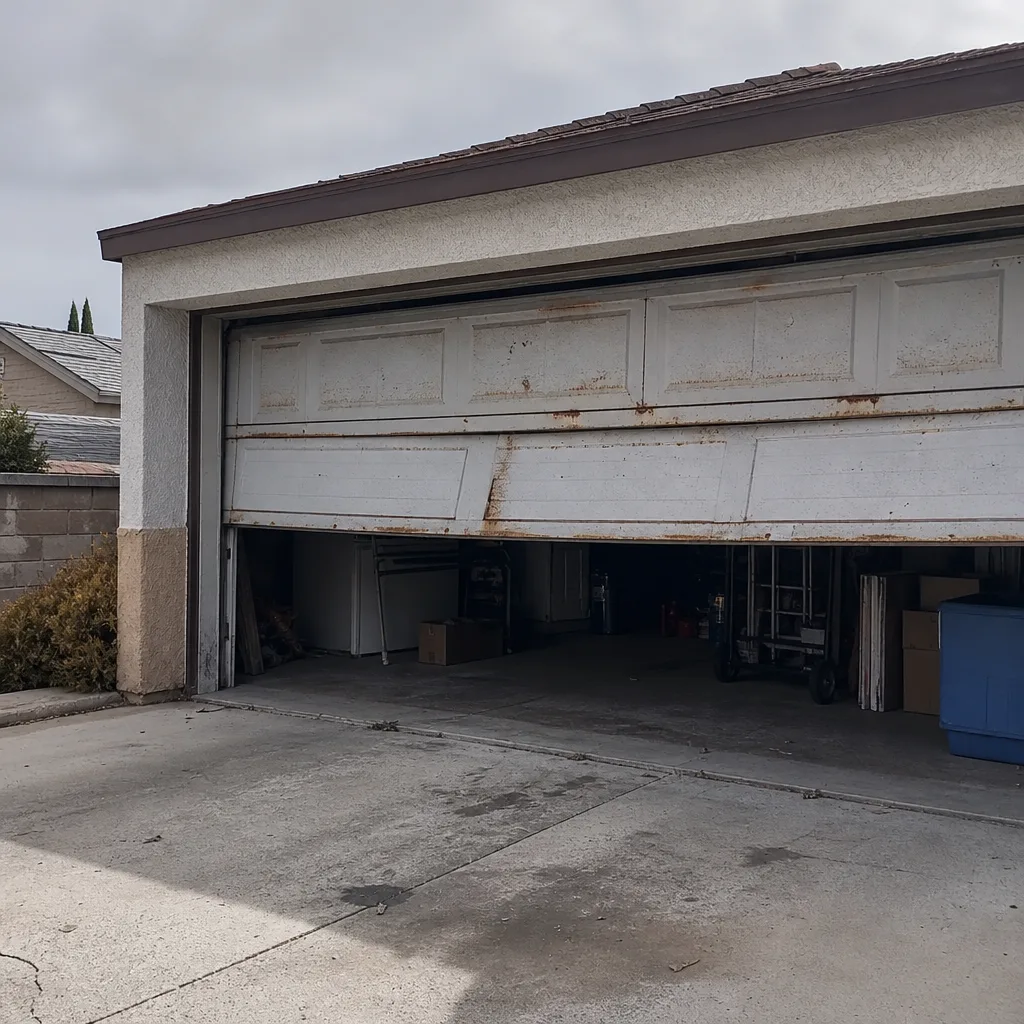 Before
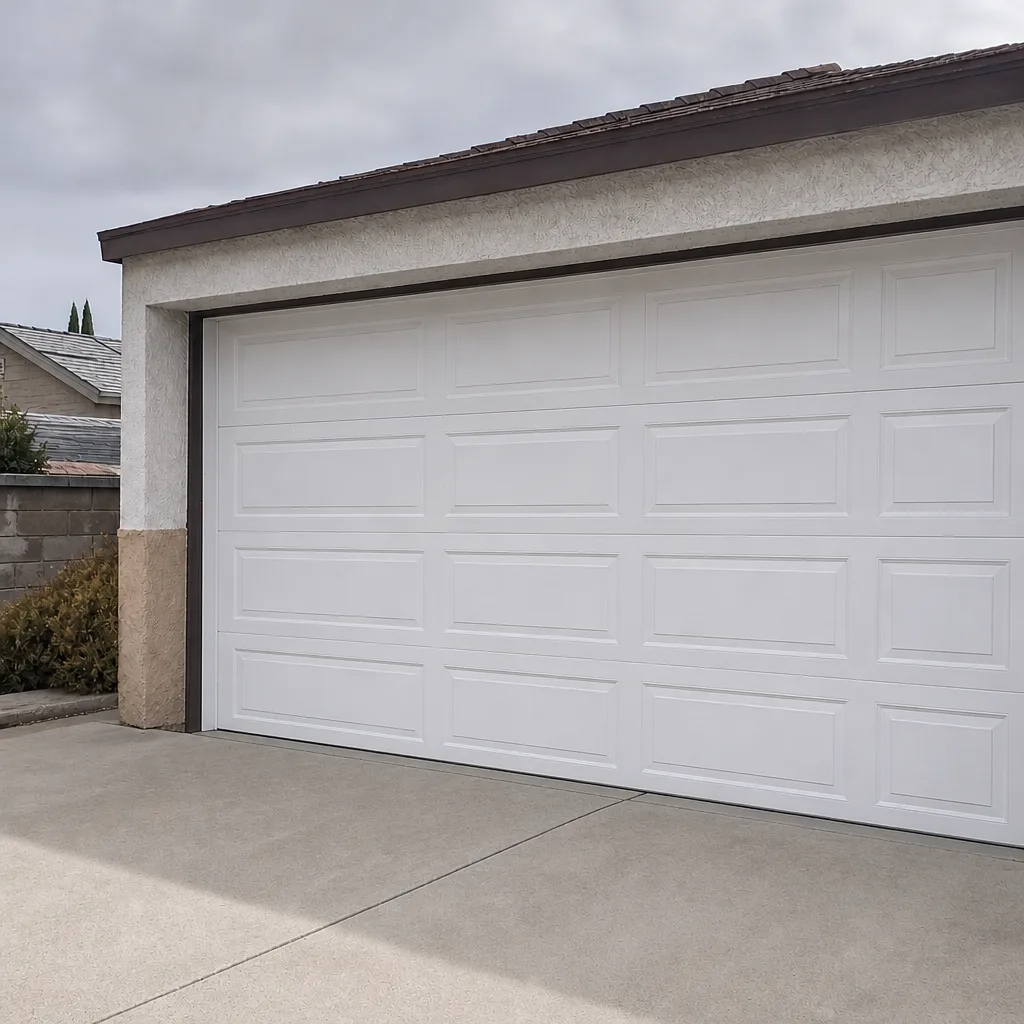 After
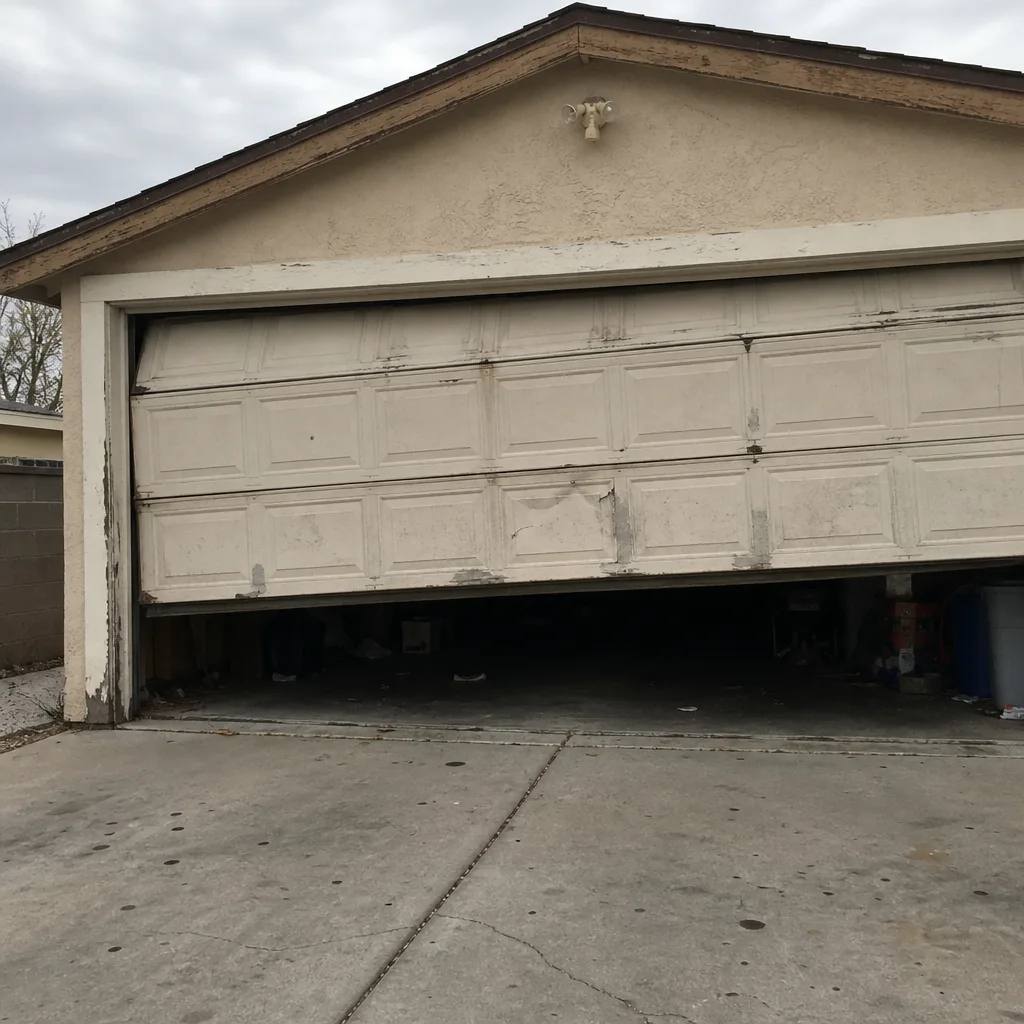 Before
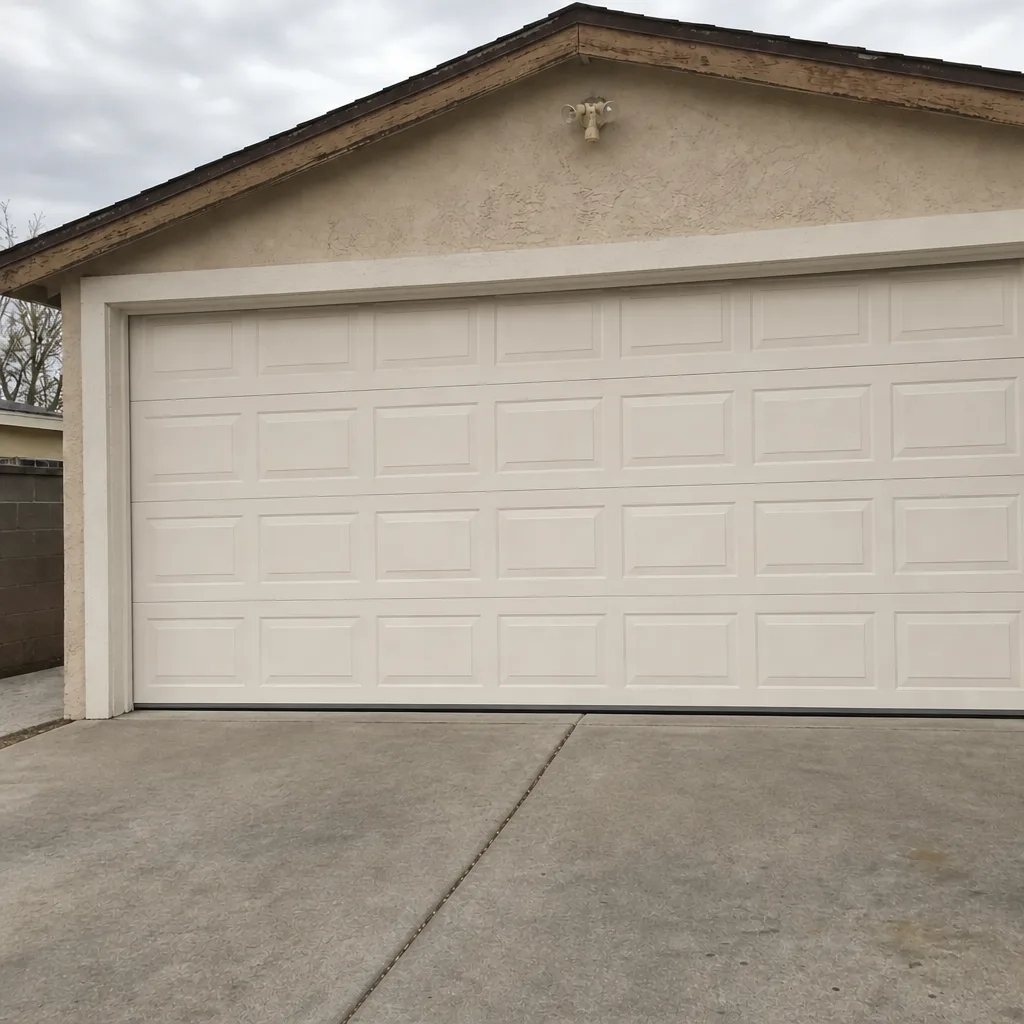 After
When to Call a Professional
Call us when the door binds on one side, when the gap at the floor won’t close, or when the opener groans under a new door it can’t handle. Call us the moment you suspect the springs are over-wound or the cables are under load – those are the jobs that hurt people, and the ones where a trained professional earns every penny. Call us before you order a new door if your frame reads off-square on the diagonal check, so the door doesn’t show up for a frame that can’t hold it true. We can adjust tracks, set the opener, check the balance, and fix what a level uncovers. Otto’s Garage Door Sunrise Manor offers free estimates in Sunrise Manor – call (888) 274-8795. For everything from frame checks to full installations, our Garage Door Installation in Sunrise Manor service and our Otto’s Garage Door Sunrise Manor home page will point you to the right next step.
Frequently Asked Questions
Most diagnostics and minor fixes (track adjustment, opener limit setting, a seal swap) run in the range of a standard service call plus parts, and we quote the number before we arrive, so you’re not surprised at the door. Call (888) 274-8795 for an exact quote – estimates are free.
Often, yes. A stuck door is usually a spring or opener problem, and we’ll tell you straight on the phone whether it’s something we can reach today or a frame or spring job that needs booking. Call (888) 274-8795 and we’ll give you a time and a price on that call.
No. We quote the job on the phone and hold that number when we arrive. That’s the whole point – the price quoted is the price you pay, and it’s written before anything gets touched.
Yes. A quarter-inch of rack is enough to bind a door in one corner, and half an inch will make the door visibly fight its tracks. It’s the single most common installation problem we fix, and it’s invisible until the door is hung.
Yes. We’re owner-operated, the address and license number are published for you to check yourself, and the person doing the work has been trained and background-checked. Call (888) 274-8795 and we’ll answer any question before the truck is on its way.
Maybe not. Drift usually means over-wound springs or a travel limit set wrong, not a dead opener. Start with a balance check; if the door still drifts, call (888) 274-8795. The price for the visit is quoted, agreed, and held before we start.
The Bottom Line
Installation problems aren’t random – they cluster around four points: an out-of-square frame, tracks spaced outside spec, an opener that doesn’t match the new door’s weight, and a door installed out of sequence. Checking your frame’s diagonals before the door arrives, measuring track spacing to the eighth of an inch, matching the opener to the door, and photographing the whole job will catch nearly every callback before it happens. You don’t have to read the symptoms blind. Call (888) 274-8795 for a free estimate, and our team will bring the level and the tape – the way a neighbor would.
Written by the team at Otto’s Garage Door Sunrise Manor.